
Practice
Building a Tennis Court at Home: Costs and Considerations
What it costs to build a private tennis court, the construction stages, surface options, permits and drainage, and the cheaper alternatives worth considering.

Jump to a section
Want to improve your game?
Private and group coaching with Claire Carter in Redwood Shores.
Book a lessonMore tennis guides
Technique, gear, fitness and match play, written from the coach’s chair.
Browse all guidesA private tennis court is a large project. Not impossible, not exotic, but a genuine construction job with groundworks, drainage, permits and a five-figure budget at minimum.
Here is what it actually involves and costs, and the alternatives worth considering before you commit.
01The headline numbers
| Item | Typical cost | Note |
|---|---|---|
| Full court, all in | $40,000 to $100,000 | The realistic planning range |
| Surface only | $5 to $14 per sq ft | Depends on base and finish |
| All-in per square foot | $12 to $22 | Once everything else is included |
| Site grading and levelling | $500 to $5,000 | More on a sloped or soft site |
| Drainage system | $1,000 to $4,000 | Not optional in most locations |
| Permits | $200 to $2,000 | Highly location dependent |
| Fencing | Varies widely | Usually essential; also often a permit item |
| Lighting | Significant additional cost | Check local rules on light spill |
The number that surprises people is not the surface, it is everything underneath and around it. Groundworks, drainage and fencing routinely account for more than the playing surface itself.
02How much land you need
A tennis court is 78 feet by 36 feet for doubles, but you cannot build only that. Run-off space behind the baselines and beside the tramlines is what makes the court playable rather than dangerous.
A practical full-size build wants around 120 feet by 60 feet, roughly 7,200 square feet. Squeezing the run-off is the most common compromise and the one people most regret, because a court you cannot chase a wide ball on stops being fun quickly.
03The construction stages
- Survey and design. Orientation matters: north-south alignment keeps the sun out of players’ eyes.
- Excavation and grading. The site is levelled and shaped, typically with a slight slope for water run-off.
- Sub-base. A compacted gravel layer that carries the load and handles drainage.
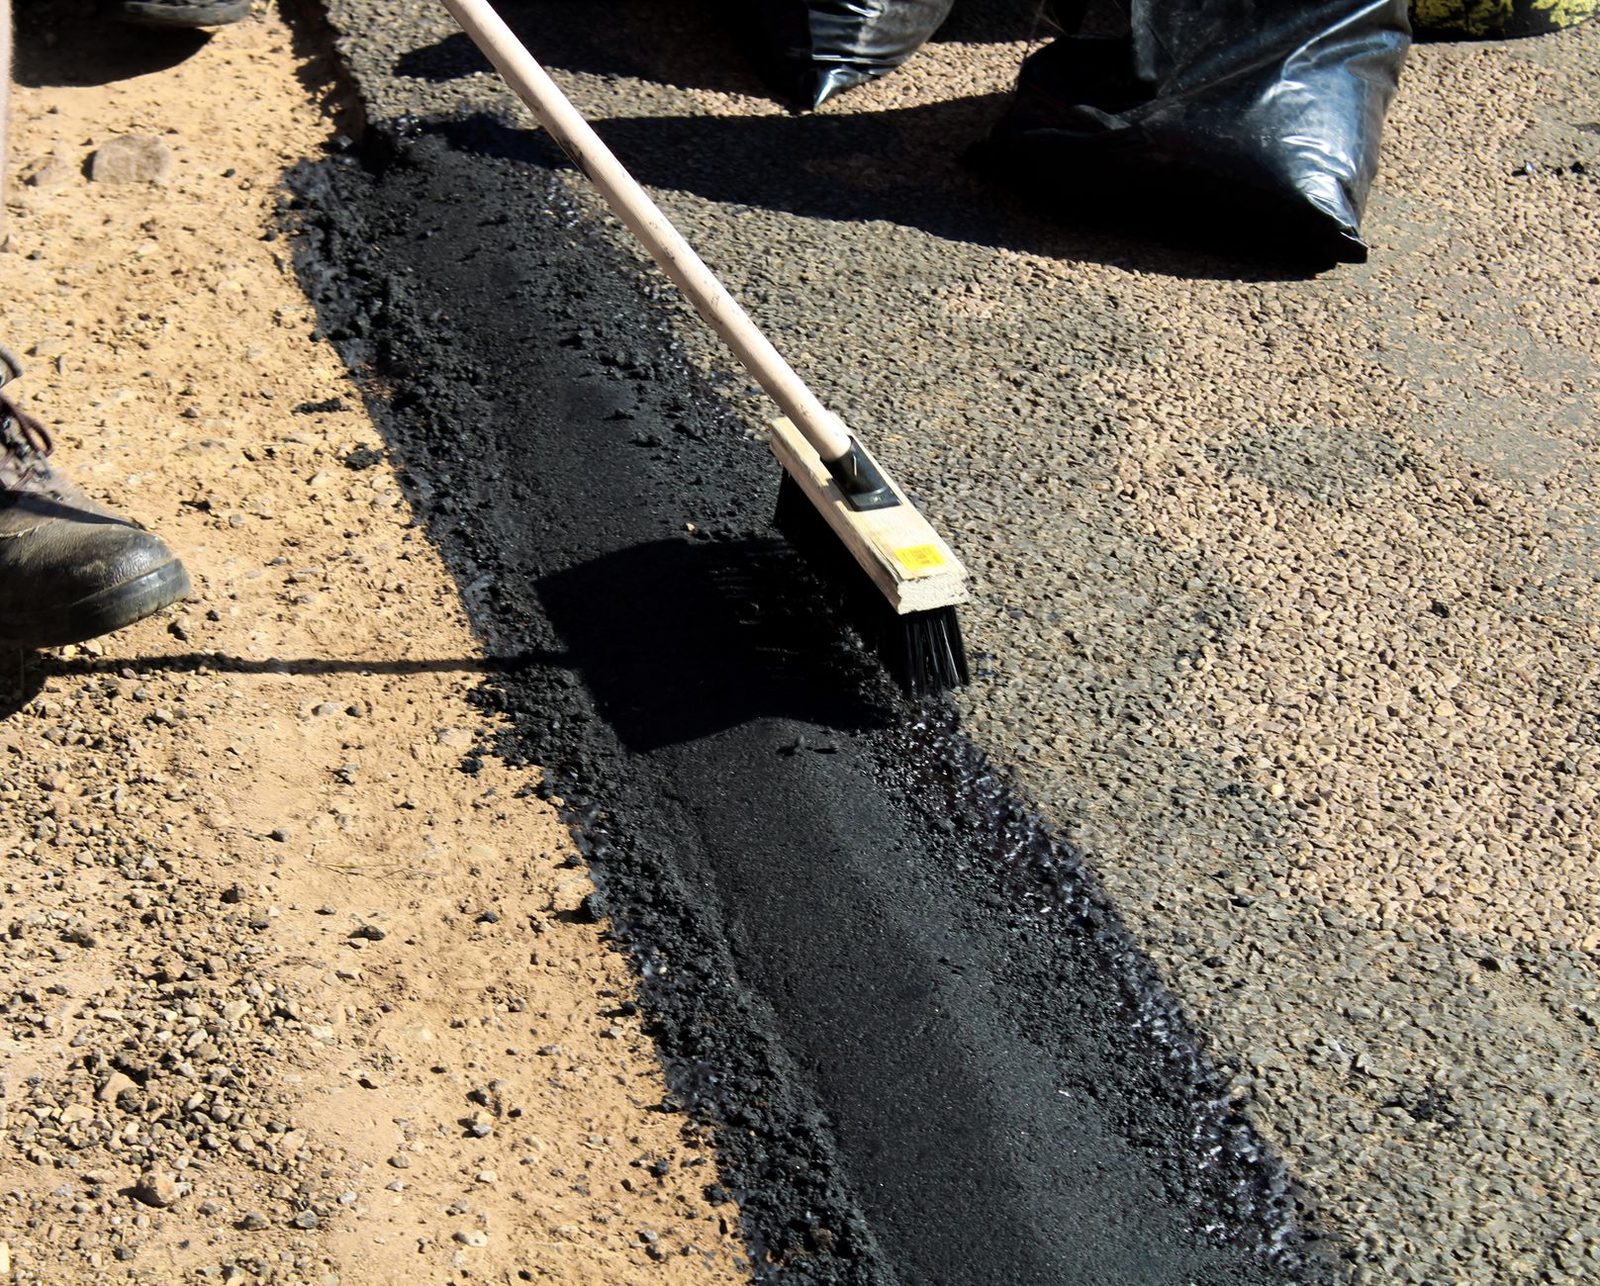
- Base layer. Asphalt or concrete, laid and cured.
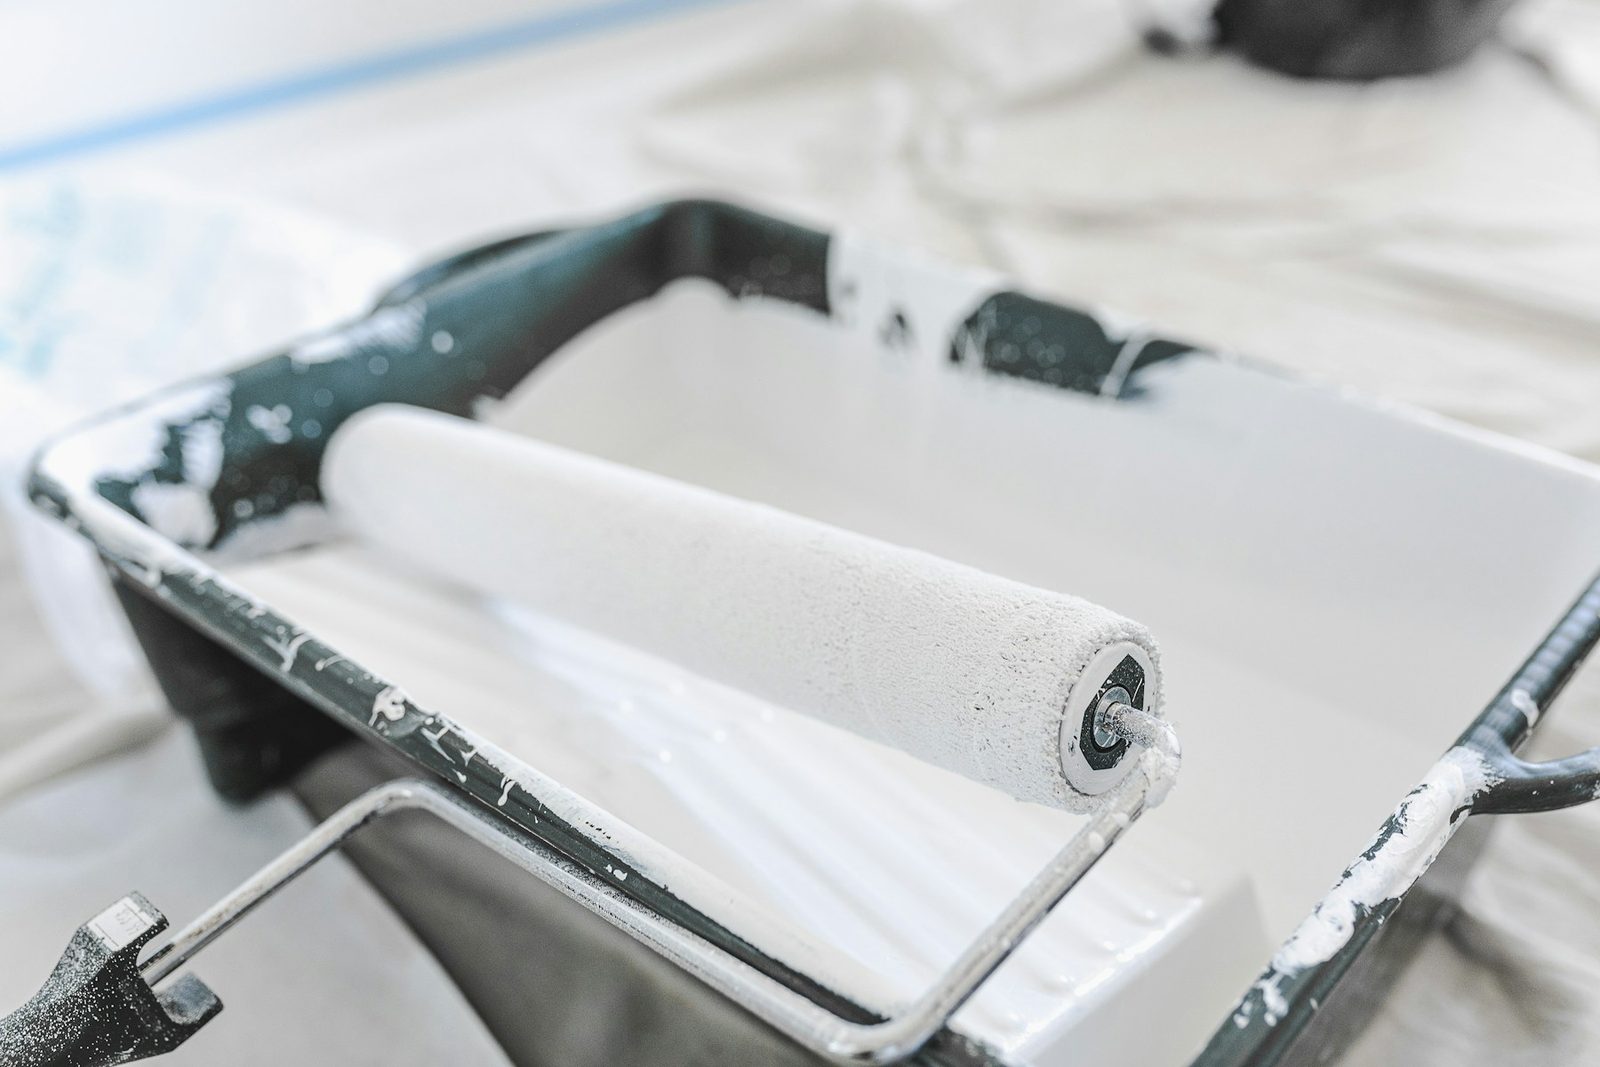
- Surface. Acrylic coating applied in several layers, then line marking.
- Fencing, net posts and any lighting.
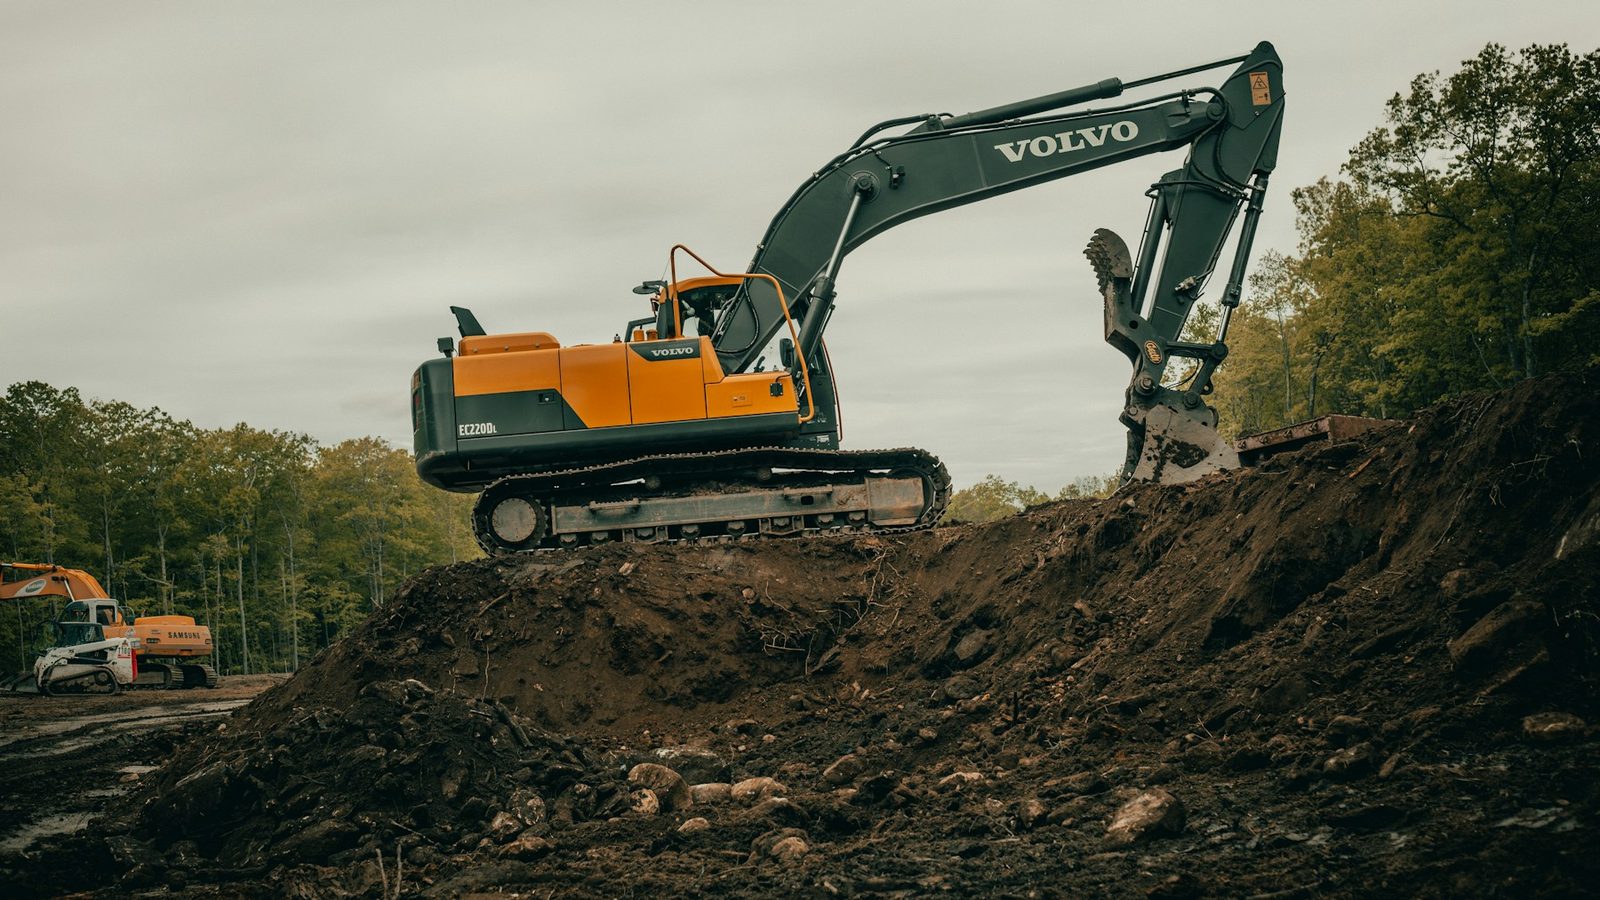
The base is where corners get cut and where failures show up two winters later. A cracked base cannot be fixed by resurfacing, so this is the stage worth paying properly for.
04Surface options
| Surface | Build cost | Maintenance | Best for |
|---|---|---|---|
| Acrylic over asphalt | Moderate | Low; resurface every several years | Most home courts |
| Acrylic over concrete | Higher | Low; longer life | Where budget allows |
| Clay | Moderate | High; daily brushing and watering | Players who love the surface |
| Artificial grass with sand | Moderate | Medium; sand needs topping up | All-weather use |
| Natural grass | High | Very high | Almost nobody, realistically |
Acrylic over a solid base is the default for good reason. The surface differences in how the game plays are covered in this guide to guide to tennis court surfaces, and they are worth reading before you commit to clay on romantic grounds.
05Drainage is the thing that kills courts
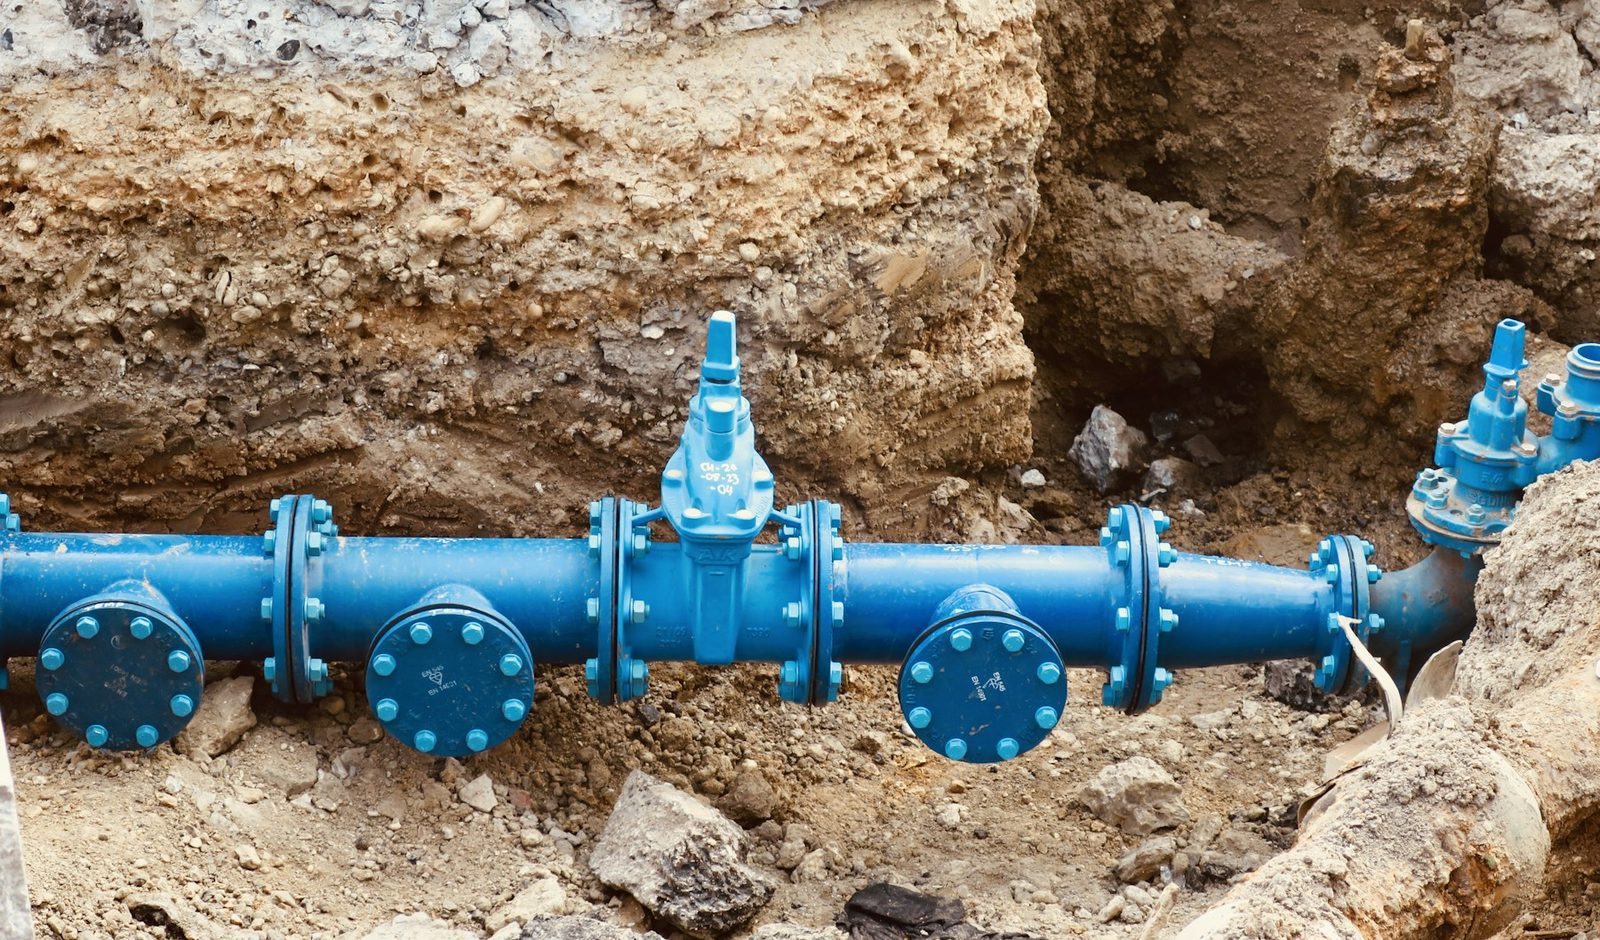
Water is the enemy of every court surface. Standing water degrades acrylic, undermines bases and turns a court into a slip hazard, and retrofitting drainage after the fact is expensive and disruptive.
- A gravel sub-base handles a lot of it, and it is not optional.
- The surface is built with a slight slope, usually side to side.
- Perimeter drains carry water away from the base edge.
- Trees near the court cause problems: roots, leaves and shade that keeps it damp.
- In a wet climate this is where the budget should go before lighting.
06Permits, neighbours and the boring parts
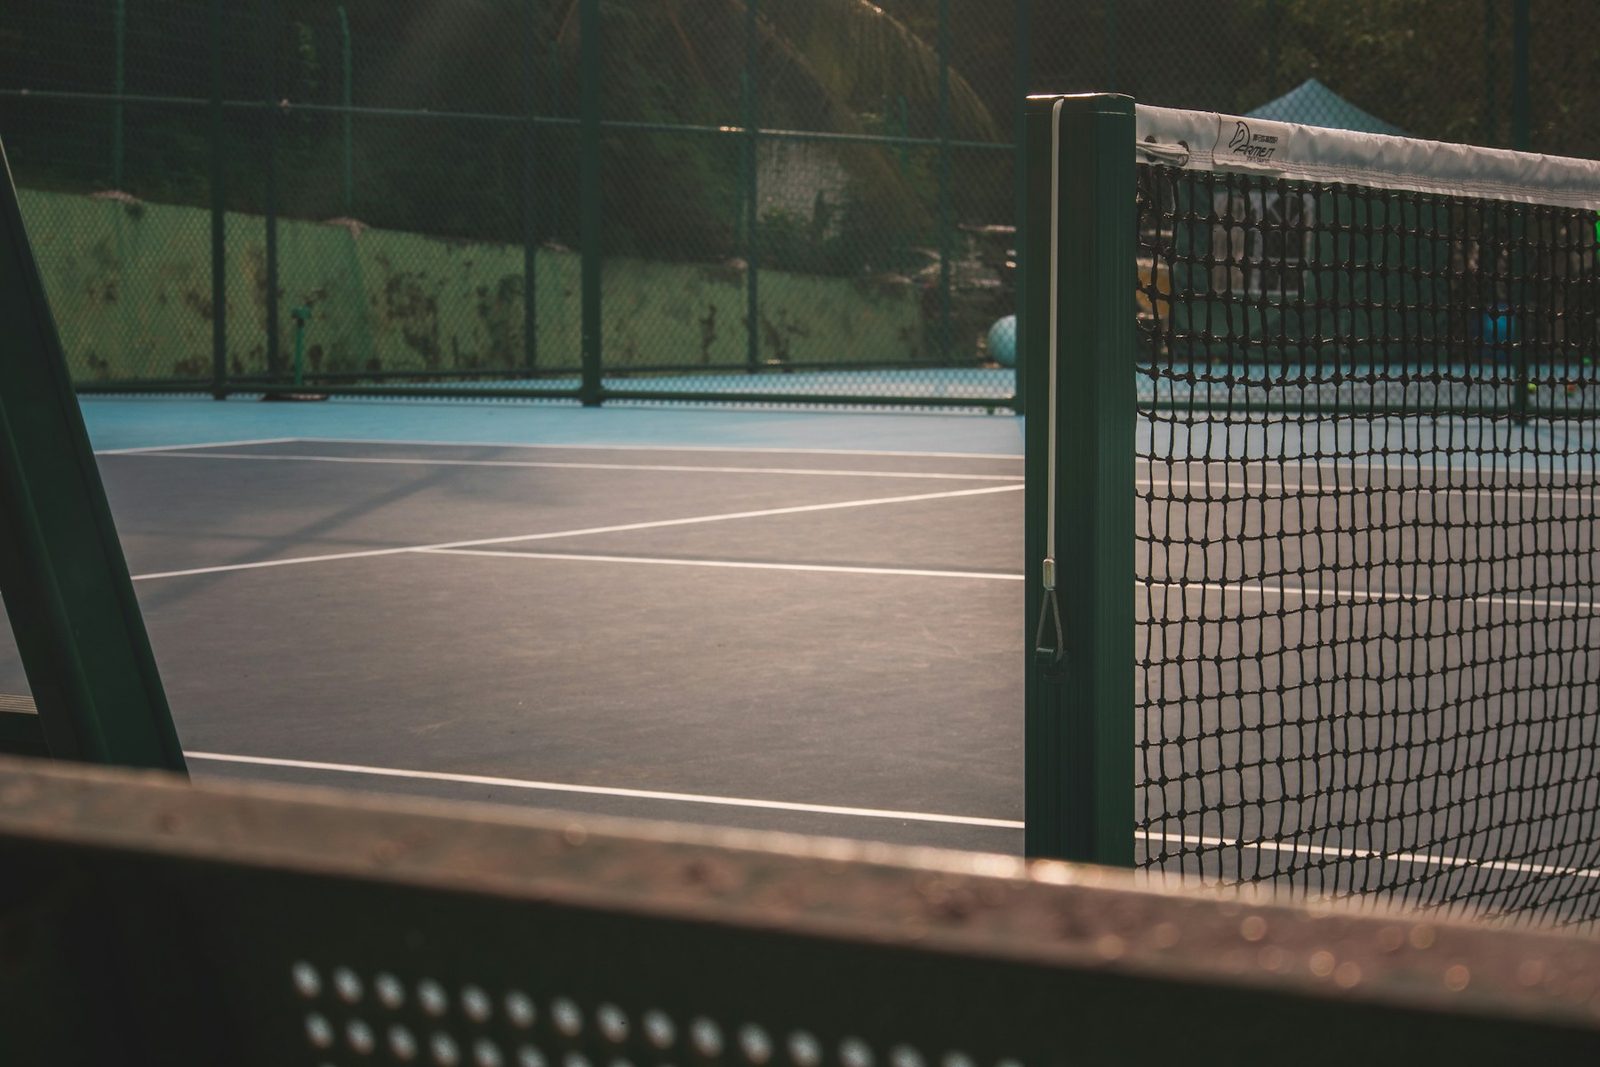
Almost every jurisdiction requires a permit, and fencing and lighting frequently need separate approval. HOA rules often apply on top of that, and they are occasionally stricter than the city’s.
- Check zoning and setback requirements before design, not after.
- Fence height is commonly restricted, and courts want 10 feet.
- Lighting is often limited or prohibited because of light spill.
- Noise is a genuine consideration; ball impact carries.
- Talk to neighbours early. It is cheaper than an objection later.
07The maintenance you are signing up for
A court is not a one-off cost. It is a surface exposed to weather all year, and the annual upkeep is the part that most people fail to budget for.
- Cleaning. Leaves, moss and algae need removing regularly, and more often under trees.
- Resurfacing. Acrylic needs recoating every four to eight years depending on climate and use.
- Crack repair. Small cracks are cheap to fix and expensive to ignore, because water gets in and widens them.
- Net and posts. Nets sag and perish; posts need checking for movement.
- Line repainting. Part of a resurfacing cycle rather than a separate job.
- Drainage clearing. Blocked perimeter drains undo the whole system.
Clay is the outlier here. It plays beautifully and is genuinely kinder on joints, which matters if you are in the group covered by this guide to playing tennis after fifty, but it needs brushing, watering and line-tape attention on a scale most homeowners underestimate before they commit.
08Things people wish they had decided earlier
- Orientation. North-south, always. A badly oriented court is unplayable for two hours a day and cannot be fixed afterwards.
- Run-off space. Squeeze it and you will regret it every time someone chases a wide ball.
- Whether you will actually light it. Retrofitting lighting means trenching across a finished surface.
- Where the balls go. Without proper fencing you will spend your life in the hedge.
- A practice wall on one end. Cheap to include during the build, expensive to add later, and it doubles the court’s usefulness.
That last point is worth pressing. A backboard built into the fence line at construction time costs very little and turns the court into somewhere you can practise alone, which is what the tennis backboard drills covered here are all about. Court surface also determines what shoes you and your guests should be wearing, which is covered in this guide to choosing tennis shoes for your court surface.
09The honest alternatives
Most people who want a home court actually want more practice time, and there are considerably cheaper ways to get it.
| Option | Rough cost | What you get |
|---|---|---|
| Practice wall or backboard | $200 to $300 DIY | Unlimited solo practice |
| Half court or hitting area | A fraction of a full build | Serve and short-court practice |
| Ball machine | $800 to $2,000 | Structured solo drilling anywhere |
| Club membership | Annual fee | Full courts, coaching, opponents |
| Years of coaching | Same money, spread out | Almost certainly more improvement |
That last row is worth sitting with. The cost of one court is many years of lessons, and lessons change how you play far more than proximity does. A wall is the highest value-per-dollar option by a wide margin, and this guide covers how to build a tennis backboard at home. Cost benchmarks for the full build are maintained by HomeGuide if you want current figures.
10Frequently asked questions
Typically $40,000 to $100,000 for a full-size court, or roughly $5 to $14 per square foot for the surface itself. Once site preparation, drainage, fencing and lighting are included, the all-in figure commonly lands between $12 and $22 per square foot.
A full court with reasonable run-off needs around 120 feet by 60 feet, which is about 7,200 square feet. That is the practical minimum for comfortable play, and it is more land than most residential plots have available.
Almost always. Permits typically run from a couple of hundred dollars to a couple of thousand depending on location and complexity, and fencing, grading and lighting often need separate approval. Check before spending anything on design.
Acrylic over an asphalt or concrete base is the most common choice, because it is durable, low maintenance and plays predictably. Clay plays beautifully and is kinder on joints but needs regular upkeep most homeowners underestimate.
Financially, rarely. It seldom returns its cost in property value and it carries ongoing maintenance. It is worth it if you will genuinely use it several times a week, and a practice wall or half court delivers much of the benefit for a fraction of the money.

Claire Carter
Former WTA Tour Professional & Teaching Pro
Claire Carter is a former WTA Tour professional and a full-time teaching professional at Bay Club Redwood Shores, where she has coached juniors and adults for more than twelve years.
More about ClaireImage credits: Billy Freeman (Unsplash), Callum Hill (Unsplash), Erik Mclean (Pexels), Fei Chao (Unsplash), Marian Florinel Condruz (Pexels), Nicolette Villavicencio (Pexels), Rose Galloway Green (Unsplash). Photographs are illustrative.