
Practice
How to Build a Tennis Backboard at Home
Build a tennis backboard at home: materials, dimensions, a step-by-step plan, realistic costs and the mistakes that make a DIY practice wall unusable.

Jump to a section
Want to improve your game?
Private and group coaching with Claire Carter in Redwood Shores.
Book a lessonMore tennis guides
Technique, gear, fitness and match play, written from the coach’s chair.
Browse all guidesA home backboard turns any spare wall or patch of yard into unlimited practice time. Build it properly and it will last years; build it badly and it will flex, rattle and return the ball at unpredictable angles.
This is a straightforward weekend project. Materials run roughly $200 to $300, and the only real skills required are measuring accurately and drilling straight. The difference between a wall that plays well and one that does not comes down almost entirely to rigidity: a stiff panel returns a true ball.
01Plan the size and location first
| Decision | Recommendation | Why |
|---|---|---|
| Panel size | 8 ft wide x 8 ft tall (4 x 8 ft minimum) | Wider tolerates off-centre shots; narrow panels frustrate quickly |
| Clear space in front | 16 ft minimum, 20 ft preferred | Below 16 ft the ball returns before you can prepare |
| Ground surface | Concrete, asphalt or compacted hard surface | Grass kills the bounce and makes footing unsafe |
| Orientation | Avoid facing directly into low sun | You will lose the ball in glare |
| Neighbours | Consider distance and fencing | Repetitive impact noise carries further than people expect |
If you would rather not build anything, there are free public walls and courts across the area, listed in this guide to public tennis courts on the Peninsula. Check local rules and any HOA restrictions before you start. A freestanding structure of this height can fall under fence or outbuilding regulations.
02Materials list
| Item | Specification | Notes |
|---|---|---|
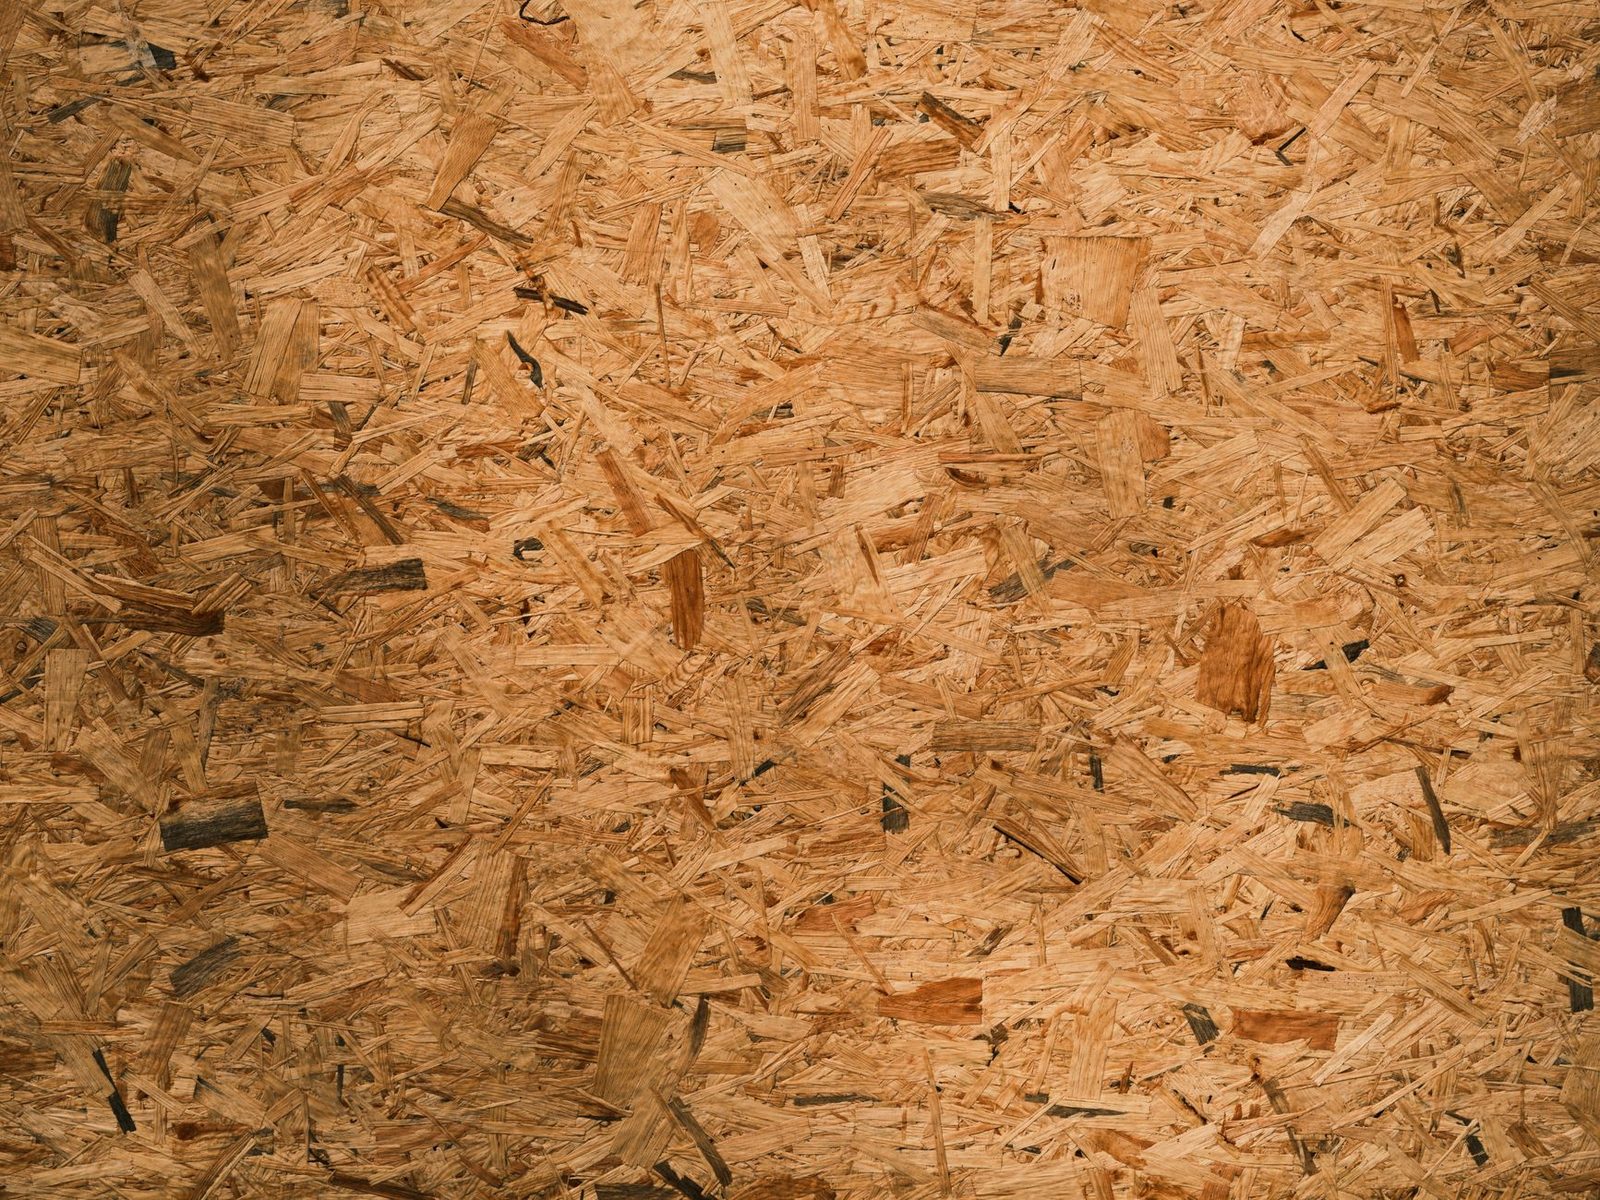
| Plywood | 3/4 in exterior grade, 2 sheets of 4 x 8 ft | Do not go thinner; it will flex |
| Frame timber | 2×4 pressure-treated | Verticals, horizontals and cross-bracing |
| Posts | 4×4 pressure-treated | If freestanding rather than wall-mounted |
| Fixings | 3 in and 2 in exterior wood screws | Buy more than you think you need |
| Finish | Exterior primer plus 1 quart exterior paint | Seals against moisture and UV |
| Optional | Concrete mix for post footings | Essential for a freestanding build |
| Tools | Drill, circular saw, tape measure, spirit level |
03Step by step
1. Build the frame
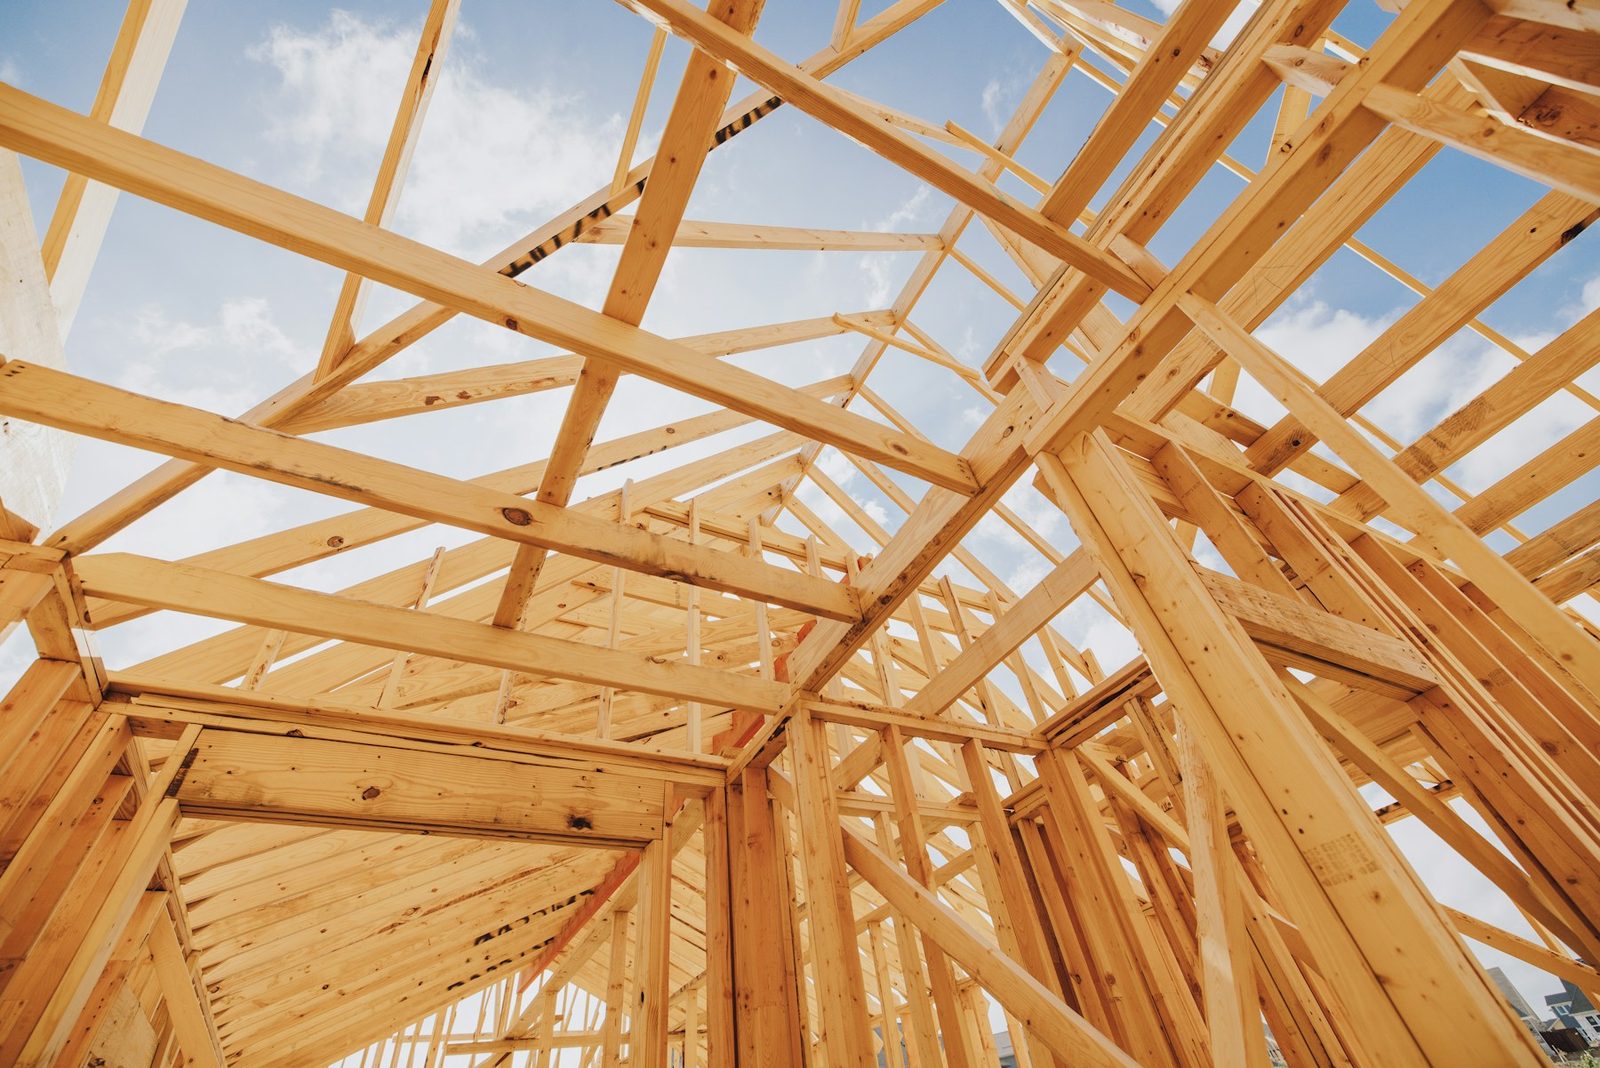
Construct a 2×4 frame matching your panel size, with vertical studs every 16 inches and horizontal rails top, middle and bottom. The middle rail is not optional: it is what stops the centre of the panel drumming when you hit it.
2. Add bracing
Run diagonal or perpendicular 2×4 bracing across the back, at minimum along both ends and down the centre. If the frame can rack side to side by hand, it will move under repeated ball impact.
3. Secure it
Wall-mounted is simplest: bolt the frame directly to a solid masonry wall. Freestanding needs 4×4 posts set in concrete footings below the frost line, plus a level base. Do not skip the footings; a large flat panel acts like a sail.
4. Attach the plywood
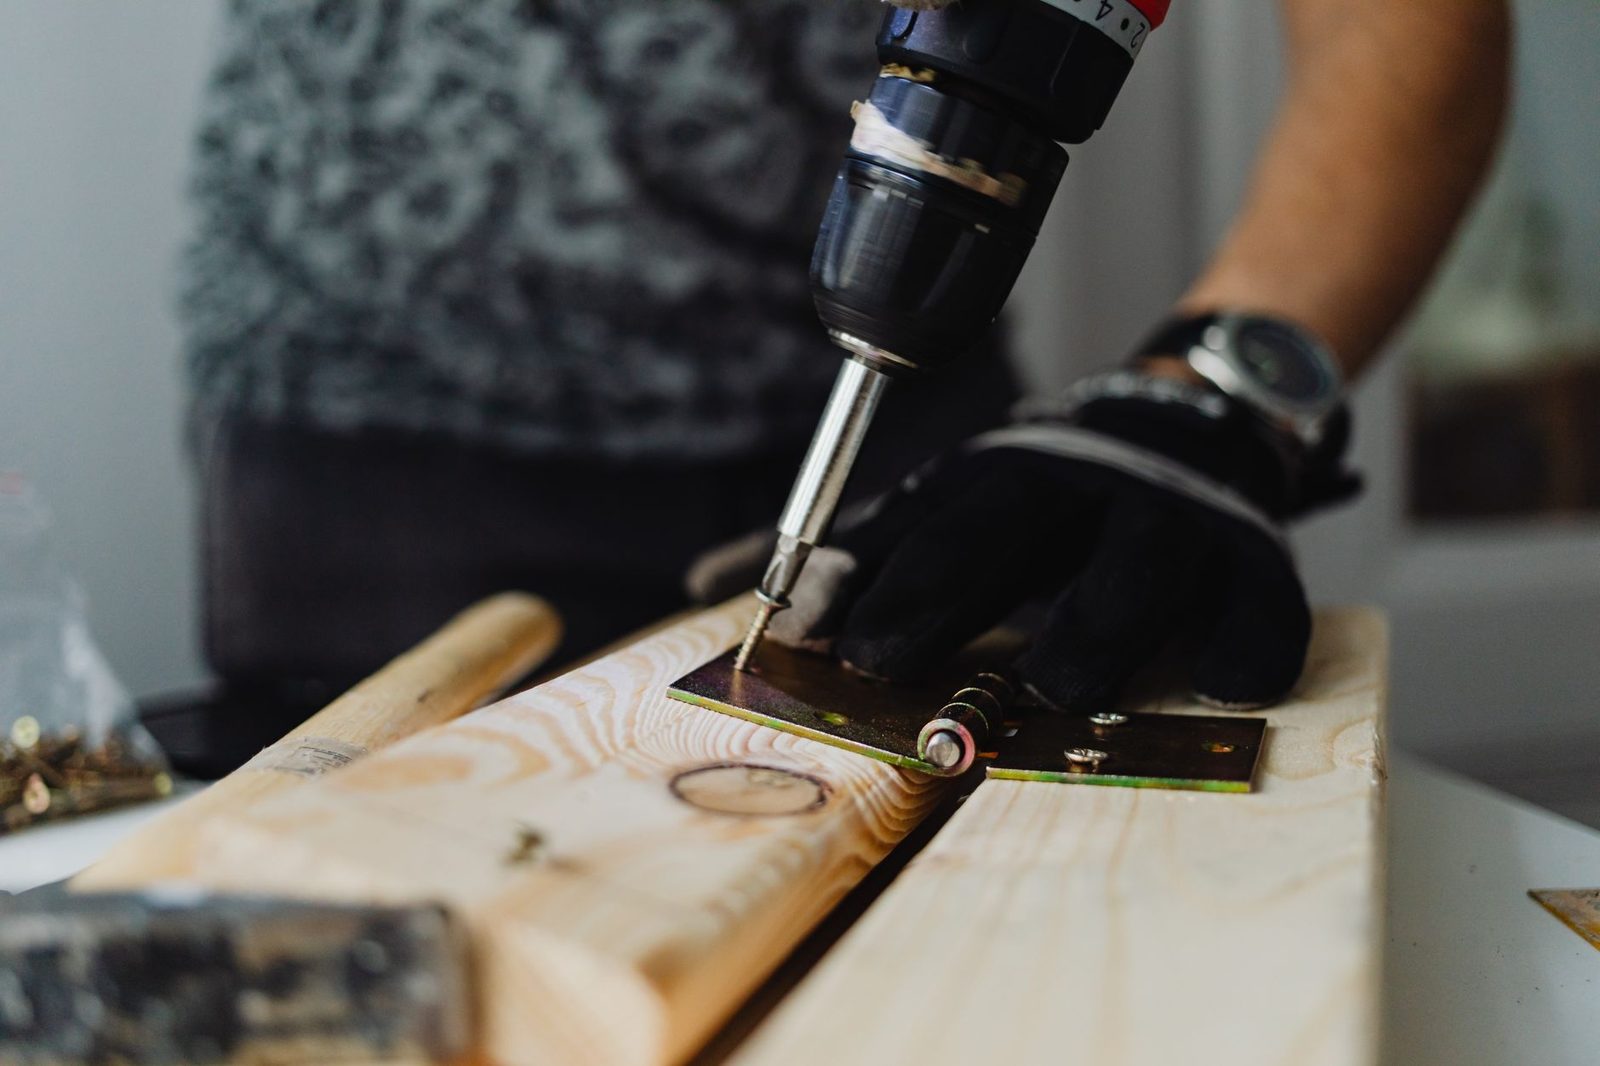
Fix the sheets to the frame with 2-inch screws every 8 to 10 inches around the perimeter and along every stud. Countersink every screw head. A proud screw will deflect the ball and eventually tear the ball’s felt.
5. Seal and paint
Prime all faces and edges, including the back, then apply two coats of exterior paint. Unsealed plywood edges wick water and delaminate within a season. A mid green or dark blue gives the best ball visibility.
6. Mark a net line
Paint or tape a horizontal line 3 feet from the ground to represent net height. Add a target square if you like. This is what turns a wall into a training tool rather than a rebound surface.
04Keeping it usable
A backboard takes a genuine beating. Thousands of impacts a season will loosen fixings and wear the finish, and a neglected wall becomes an unpredictable one.
- Check every screw at the start of each season and re-countersink any that have worked loose.
- Repaint every two to three years, or sooner if the surface starts to chalk.
- Watch the bottom edge in particular, since that is where ground moisture attacks first. Keeping the panel a couple of inches clear of the ground helps a lot.
- If a section starts to sound hollow when you tap it, add bracing behind that point before the plywood cracks.
One more thing worth planning for: noise. The impact is repetitive and carries, so a solid fence, some planting, or simply agreeing sensible hours with neighbours will save you a difficult conversation later.
05Build it or buy it?
| DIY plywood build | Commercial backboard | |
|---|---|---|
| Typical cost | About $200 to $300 in materials | Around $3,100 for a 10 x 12 ft flat panel, plus shipping |
| Build time | A weekend | Professional installation |
| Bounce consistency | Good if braced properly | Excellent and predictable |
| Lifespan outdoors | Several years if sealed and maintained | A decade or more |
| Angled option | Difficult to fabricate | Available; simulates a lobbed ball |
| Best for | Home use and most club players | Clubs and permanent facilities |
US Sports Camps has a useful companion walkthrough if you want a second set of build notes before committing to a design.
06Mistakes that ruin a DIY wall
- Plywood too thin. Half-inch sheets flex and swallow the pace.
- No middle rail. The centre of the panel booms and the bounce dies.
- Screws left proud. Unpredictable deflections and shredded balls.
- Unsealed edges. Water gets in and the sheet delaminates.
- Built on grass. Bad footing and an unreliable first bounce.
- Too close to the hitting position. No time to prepare, so you groove a rushed, shortened swing.
07Now use it properly
A wall is also, by a very wide margin, the cheapest way to get practice time at home; the full alternative is costed out in this guide to building a tennis court at home. A wall rewards structure and punishes mindless bashing. Control beats power every time, because whatever you hit is exactly what comes back at you.
These tennis backboard drills for solo practice give you nine drills and a 30-minute session plan to follow. The close-range volley work in particular transfers directly to the net game covered in these tennis volley drills for a sharper net game, and the movement patterns pair well with these tennis footwork drills.
08Frequently asked questions
Around 8 feet wide by 8 feet tall is a good target, and 4 by 8 feet is the practical minimum using a single plywood sheet. Wider is better because it tolerates off-centre shots; anything under 4 feet wide will frustrate you within a week.
Three-quarter-inch exterior-grade plywood is the standard choice. It is stiff enough to return the ball with a true bounce and survives outdoors once sealed. Thinner sheets flex, absorb pace and sound terrible.
A DIY build typically runs about $200 to $300 in materials. Commercially manufactured backboards are considerably more, with a 10 by 12 foot flat panel costing around $3,100 before shipping.
Leave at least 16 feet of clear space for singles practice and around 20 feet if you can. Less than 16 feet and the ball returns before you have finished your backswing.
It depends on your local rules. A freestanding structure above a certain height, or anything on a boundary line, may need approval, and HOA rules often apply. Check before you buy materials, and consider your neighbours: a backboard is repetitive and loud.

Claire Carter
Former WTA Tour Professional & Teaching Pro
Claire Carter is a former WTA Tour professional and a full-time teaching professional at Bay Club Redwood Shores, where she has coached juniors and adults for more than twelve years.
More about ClaireImage credits: Engin Akyurt (Pexels), Jan van der Wolf (Pexels), Lennart Schulz (Unsplash), Maciej Karoń (Unsplash), Nate Johnston (Unsplash), Troy Mortier (Unsplash), https://kaboompics.com/ (Pexels). Photographs are illustrative.