
Serve
Tennis Serve Technique: A Step-by-Step Breakdown
Tennis serve technique explained step by step: grip, stance, toss, trophy position, leg drive and pronation, plus the four faults that cost most players.

Jump to a section
Want to improve your game?
Private and group coaching with Claire Carter in Redwood Shores.
Book a lessonMore tennis guides
Technique, gear, fitness and match play, written from the coach’s chair.
Browse all guidesThe serve is the only shot in tennis you control completely. Nobody is hitting a ball at you, nobody is dictating the pace, and you can take the same preparation every single time. That should make it the most reliable shot in your game.
For most club players it is the least reliable. The reason is almost always that the motion was assembled backwards, starting with the swing instead of the grip and the toss. Here is the sequence that works, in the order it should be built.
01Step 1: the continental grip
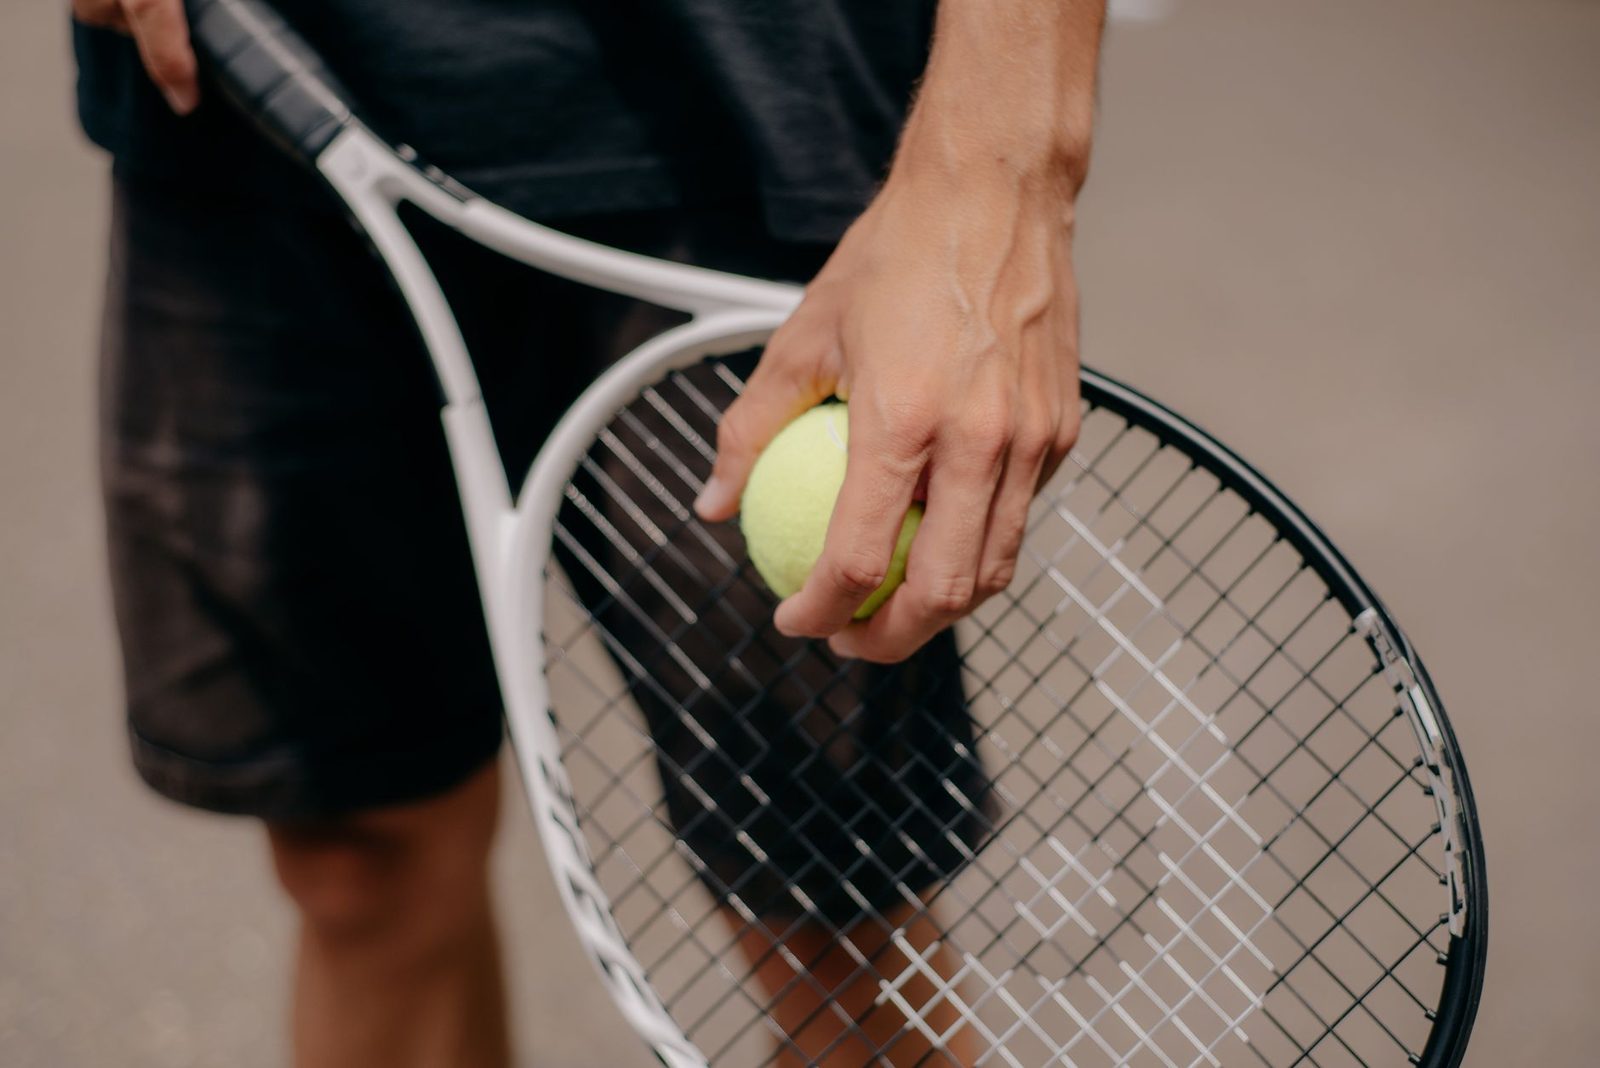
Hold the racquet as if it were a hammer, with the base knuckle of your index finger resting on the second bevel of the handle. Your thumb and forefinger should form a rough V along the top.
This grip will feel wrong if you have been serving with a forehand grip. It will also cost you pace for a week or two. Persist anyway: no other grip allows the forearm rotation that produces spin, and without spin you have no second serve. The two spin serves it unlocks are broken down in this guide to slice and kick serves.
02Step 2: stance and alignment
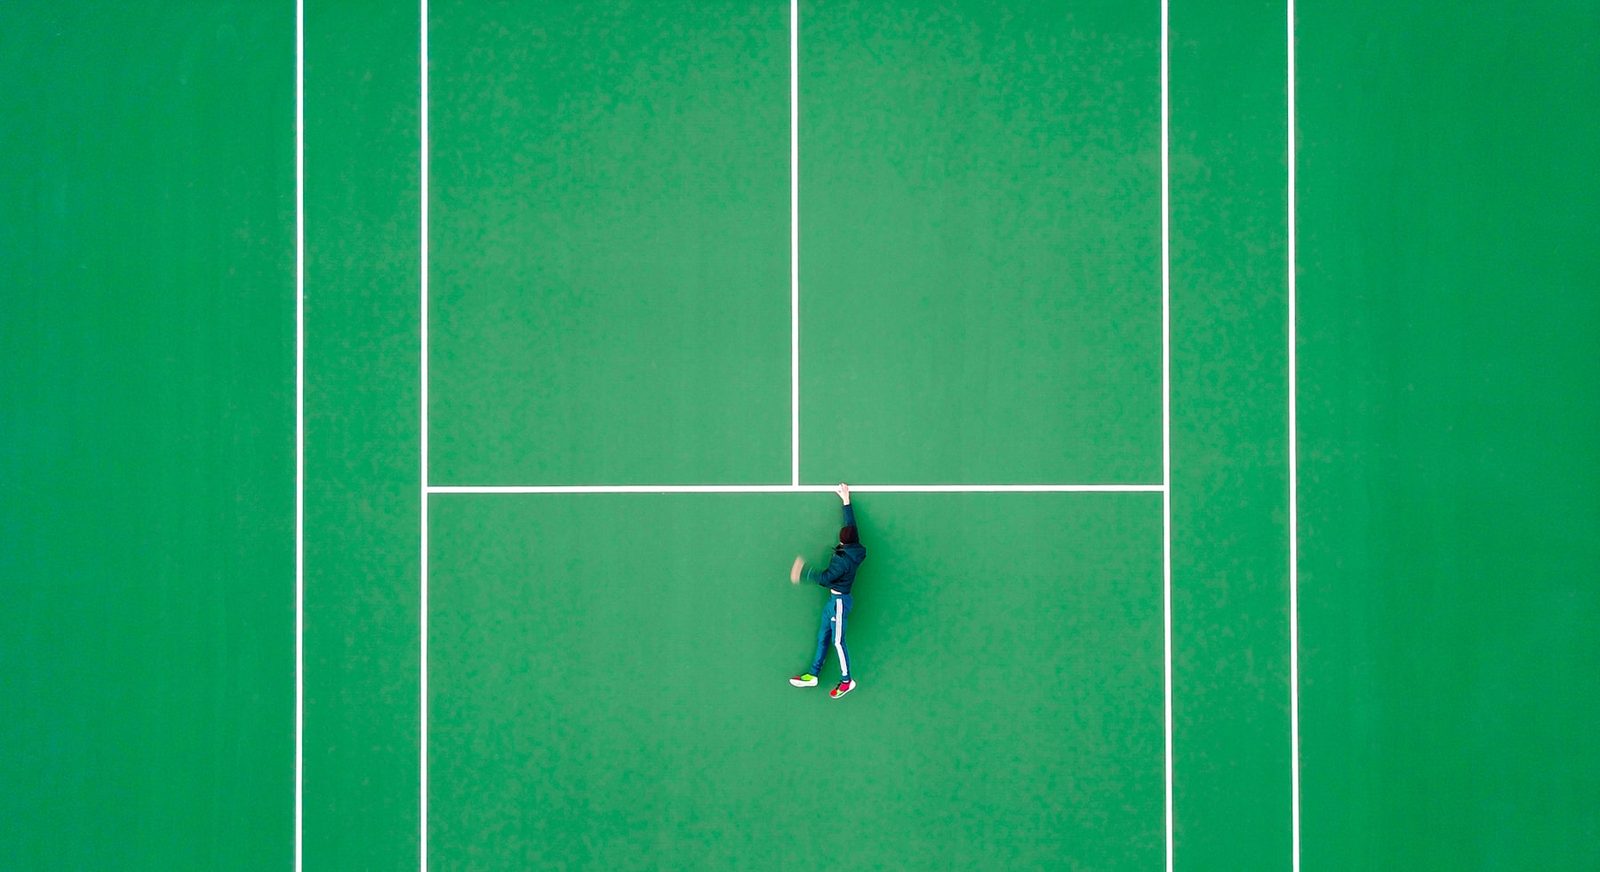
Stand with your feet roughly shoulder-width apart, front foot angled toward the net post rather than square to the net. That angle is what gives your hips and shoulders room to coil.
| Stance | Back foot | Best for |
|---|---|---|
| Platform | Stays where it starts | Stability, consistency, easier to learn |
| Pinpoint | Slides up to meet the front foot | More leg drive and upward explosion |
Start with the platform stance. It has fewer moving parts, and almost every consistency problem at club level comes from having too many moving parts.
03Step 3: the toss
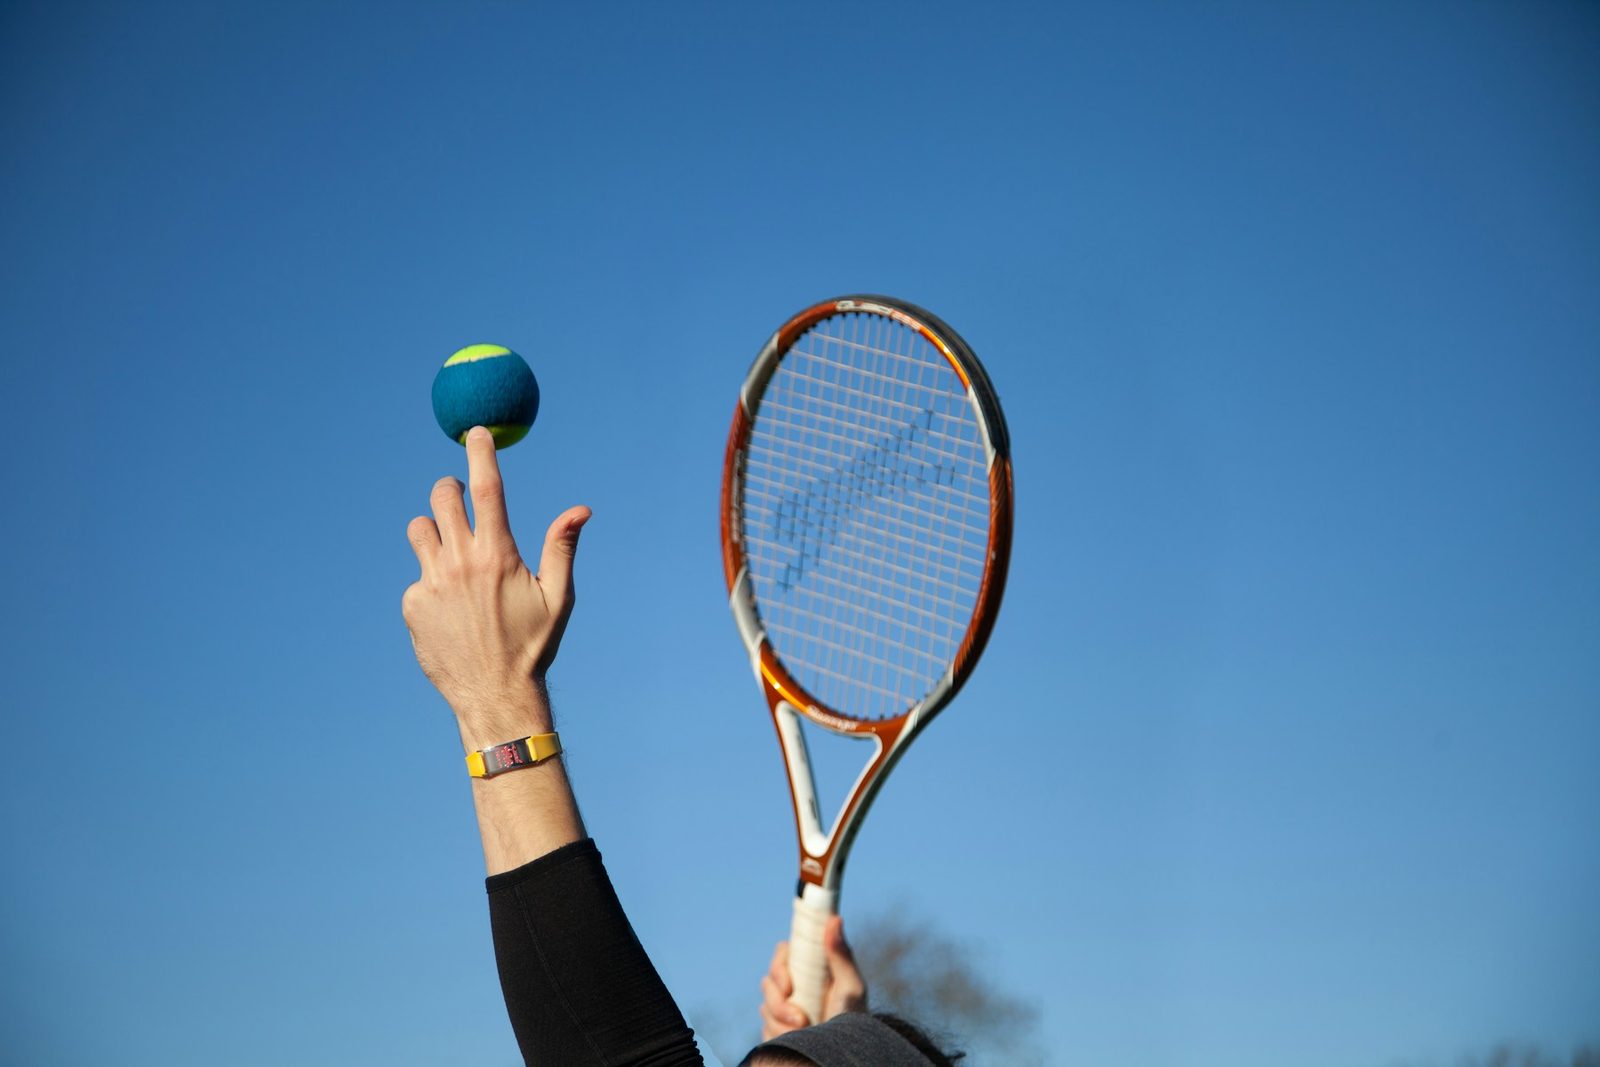
More serves are lost here than anywhere else. Hold the ball in your fingertips, not squeezed in your palm. Keep the tossing arm straight and relaxed, and lift the ball rather than throwing it, releasing at around eye or forehead height.
- Flat serve: slightly in front and to your hitting side.
- Slice: further to the hitting side, a little lower.
- Kick: more over the head and slightly to the non-dominant side.
- Height: the ball should peak just above your fully extended racquet, so you strike it as it hangs rather than as it drops.
If the toss is wrong, catch it. A caught toss costs nothing. A serve hit from a bad toss teaches your body to compensate, and those compensations become permanent.
04Step 4: the trophy position
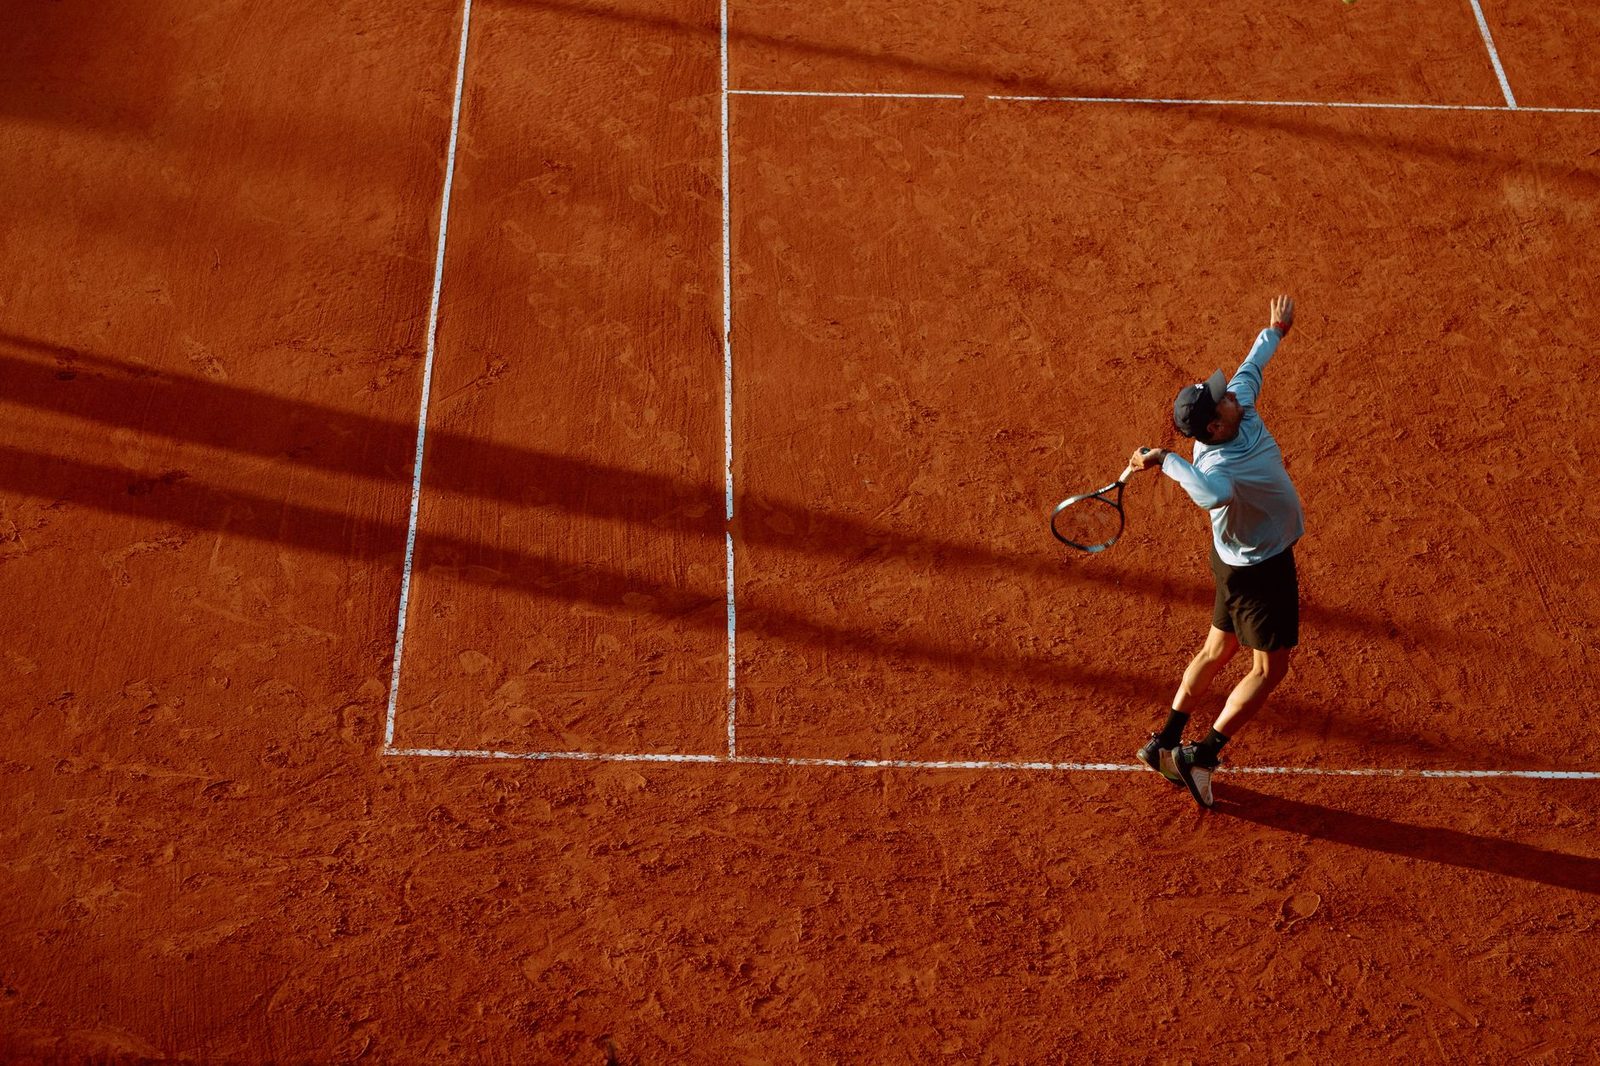
As the ball goes up, your body loads. Knees flex, shoulders turn so your chest points away from the net, tossing arm extended upward, racquet up behind you with the elbow high.
This is the position everyone photographs, and there is a reason for that: it is where all the power is stored. A brief, natural pause here is fine. Rushing through it means you swing with your arm alone.
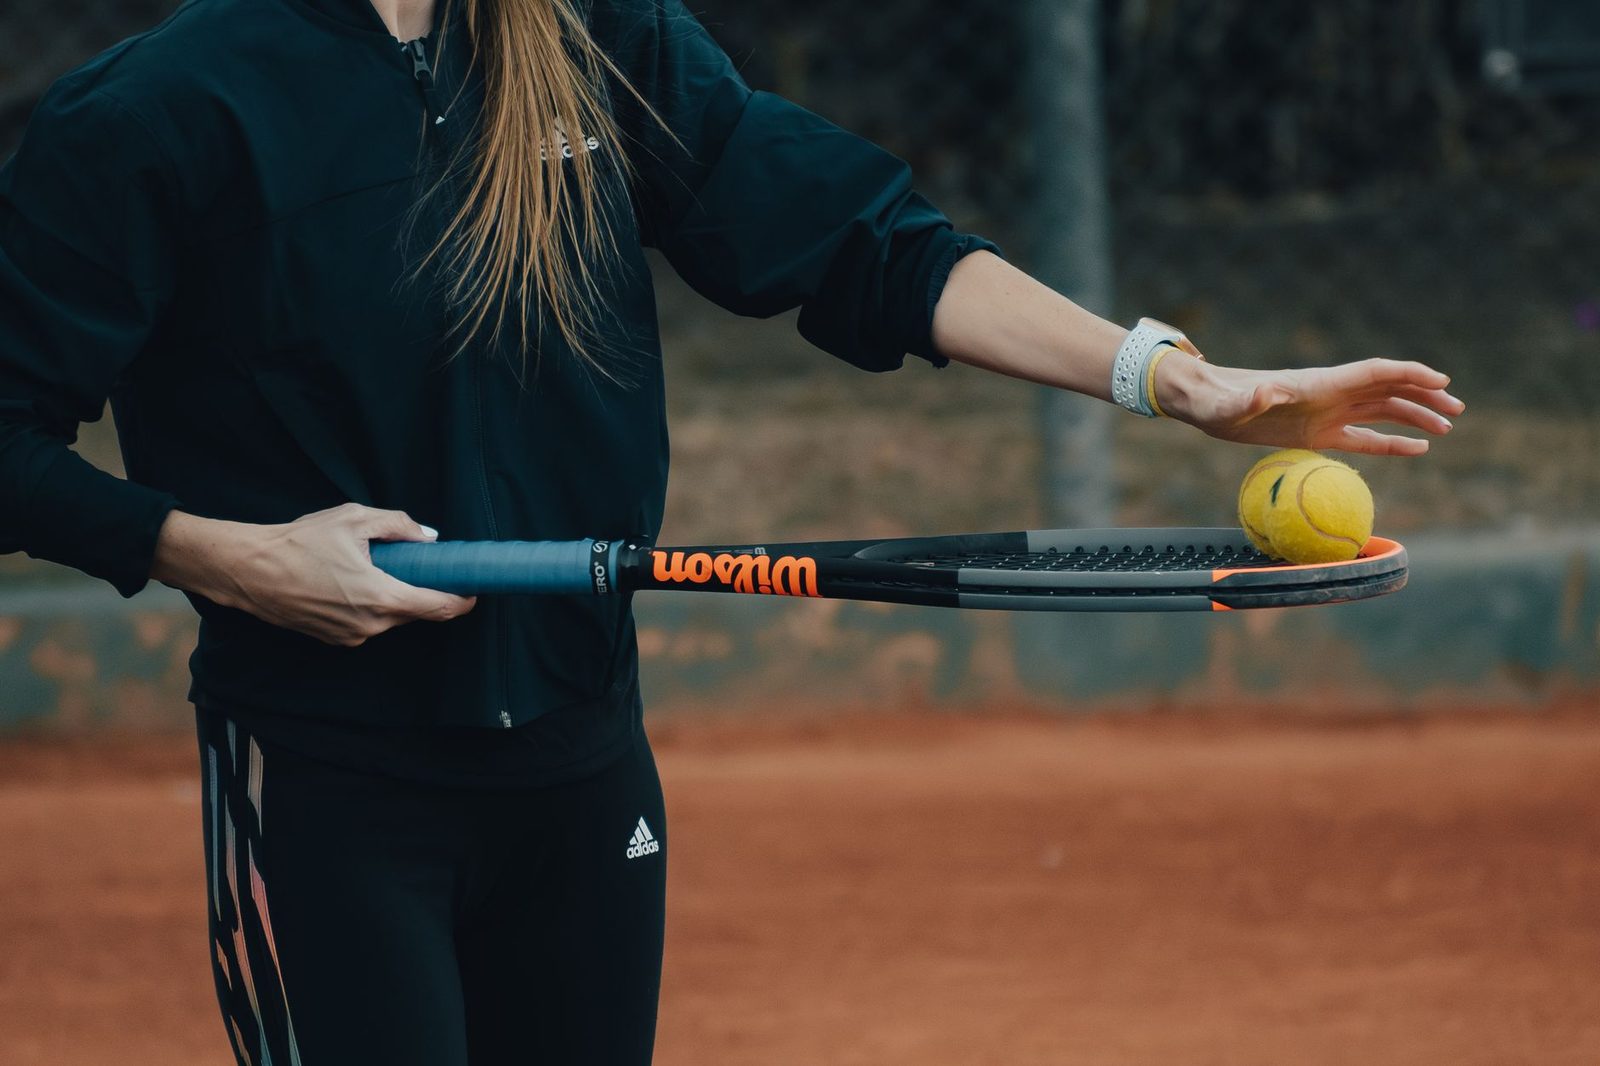
05Step 5: leg drive and the swing up
Push up from the legs first, then let the body uncoil, then let the arm follow. The sequence matters. Players who lead with the arm cap their serve speed no matter how strong they get, because the biggest muscles never contribute.
Think of swinging up at the ball rather than forward at it. Almost every player who serves into the net is swinging forward too early.
06Step 6: pronation and contact
None of this works without a Continental grip, which is explained alongside the others in this guide to tennis grips. At contact the forearm rotates internally so the racquet face squares up. This is pronation, and it is what produces both racquet head speed and the ability to spin the ball.
Crucially, it is not a wrist snap. It happens on its own when the arm is loose and accelerating. Trying to force it produces mistimed contact and, over a season, shoulder and elbow trouble. Relax the arm and let the rotation happen.
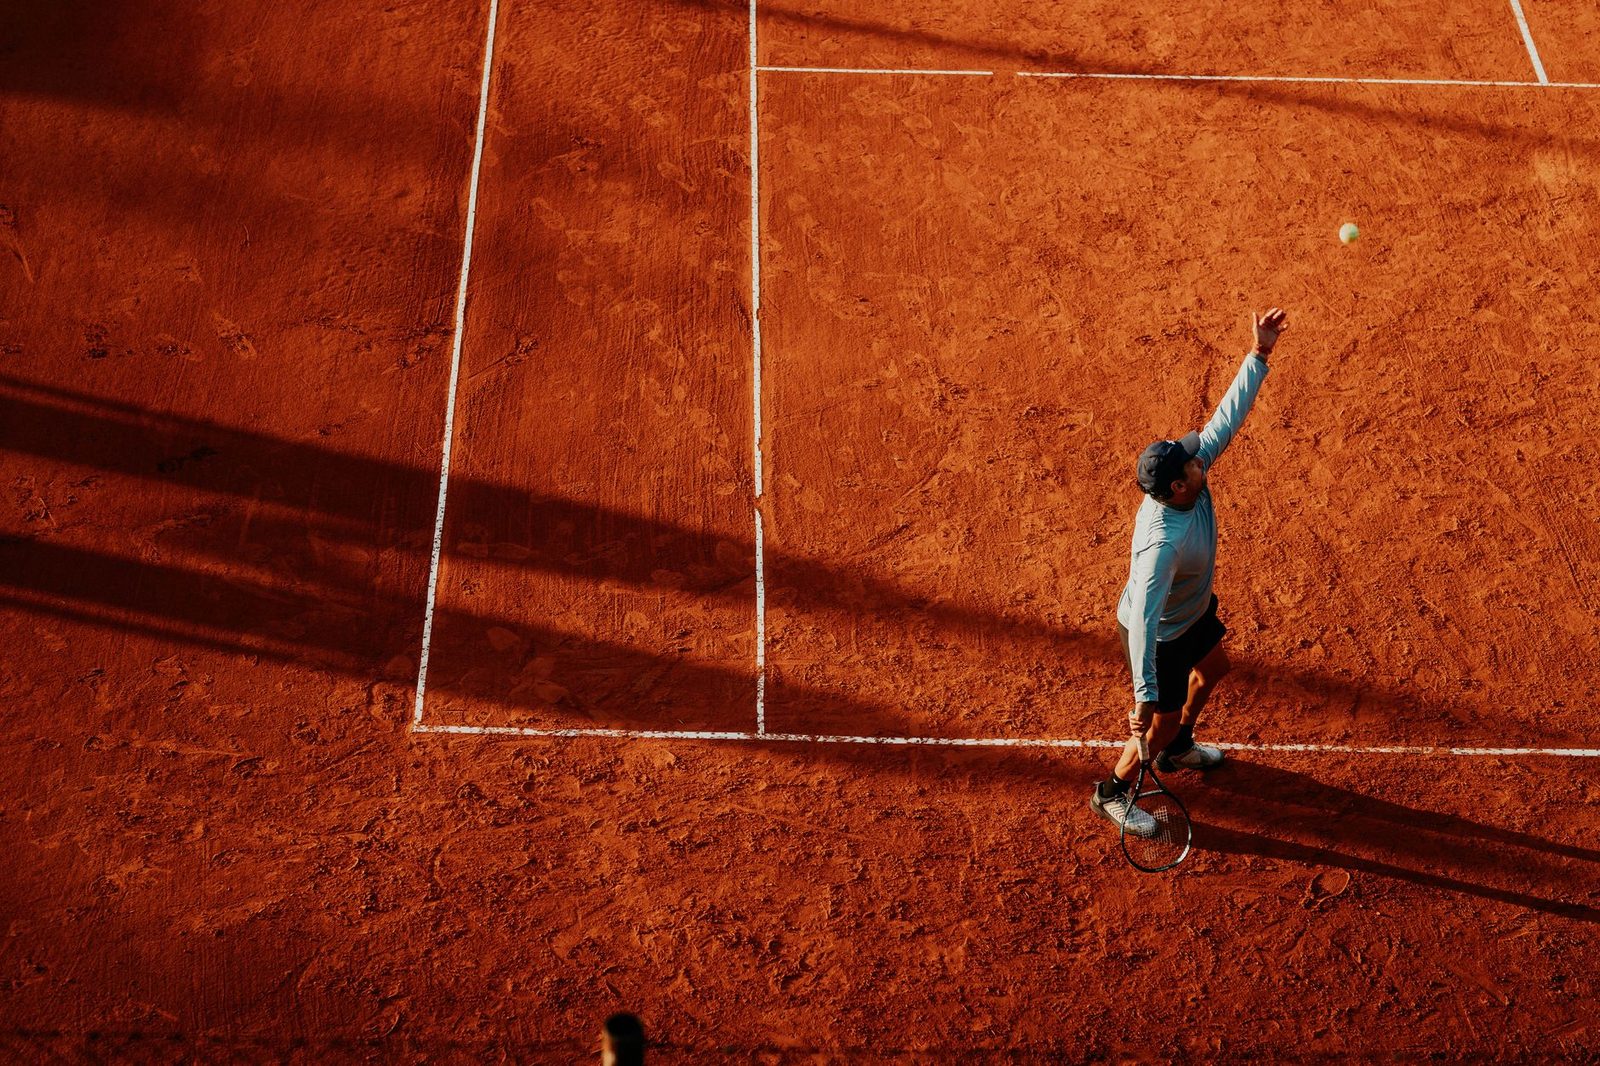
07Step 7: follow through and recovery
The racquet finishes across the body and you land inside the baseline on your front foot. If you are landing on your back foot, you did not drive upward and forward, and you are also now out of position for the next ball.
The other half of the serve is what your opponent does with it, and reading that exchange from the receiving end is covered in returning a big serve. Recovery is part of the serve. The split step for the return should follow immediately, which is the same movement pattern covered in these tennis footwork drills.
08The four faults that cost most players
| Fault | What you see | The real cause | Fix |
|---|---|---|---|
| Serving into the net | Ball lands short every time | Swinging forward instead of up | Aim to strike at full extension, upward |
| Inconsistent toss | Different contact point each serve | Throwing from the palm with a bent arm | Fingertip release, straight relaxed arm |
| No second serve | Double faults under pressure | Forehand grip prevents spin | Continental grip and a brushing swing path |
| Arm-only serve | Slow, effortful, sore shoulder | No leg drive or shoulder coil | Build from the ground up; legs then torso then arm |
09How to practise it
- Toss only. Twenty tosses, catching each one. Mark where you want the ball to land.
- Trophy position holds. Load, pause for two seconds, reset. Ten repetitions.
- Serve from the trophy position, no wind-up, focusing on the upward swing.
- Full serves at half pace, prioritising contact point over power.
- Targets. Baskets or cones in the corners of the service box, ten serves each.
Serve practice does not need a partner, which makes it the easiest thing to improve alone. The serve-and-recover exercise in these tennis backboard drills for solo practice works well when you cannot get a court. Feel Tennis has a useful video breakdown if you want to see each stage demonstrated.
Once the mechanics hold up, consistency comes from repeating the same preparation every time, which is exactly what building a consistent pre-serve routine is about. You can see the full motion at speed in the free tennis instructional videos, and if the serve is genuinely stuck, a private lesson in Redwood Shores will usually identify the cause in one session.
10Frequently asked questions
The continental grip, with the base knuckle of your index finger on the second bevel of the handle. It feels awkward at first because it does not let you hit flat and hard straight away, but it is the only grip that allows pronation, spin and a genuine second serve.
For a flat or slice serve, slightly in front and to your hitting side, at a height where the ball peaks just above your fully extended racquet. For a kick serve, more over your head and slightly to the non-dominant side. Lift the ball with a straight relaxed arm rather than throwing it.
It is the loaded position just before you swing up: knees flexed, shoulders coiled, tossing arm extended and racquet up behind you. A brief natural pause there lets you explode upward rather than rushing the motion.
No. What looks like a wrist snap is pronation, an internal rotation of the forearm that happens naturally when the arm is relaxed and accelerating. Consciously snapping the wrist causes mistimed contact and, over time, injury.
Usually because it is a slower first serve rather than a different serve. A reliable second serve needs spin, which needs a continental grip and an upward brushing swing path. Hitting the same flat motion more softly just puts the ball in the net.

Claire Carter
Former WTA Tour Professional & Teaching Pro
Claire Carter is a former WTA Tour professional and a full-time teaching professional at Bay Club Redwood Shores, where she has coached juniors and adults for more than twelve years.
More about ClaireImage credits: Gaspar Zaldo (Pexels), Gera Cejas (Pexels), Martin Sanchez (Unsplash), MedicAlert UK (Unsplash), ROMAN ODINTSOV (Pexels), Rockwell branding agency (Pexels). Photographs are illustrative.