
Forehand
Tennis Forehand Technique: A Complete Guide
Tennis forehand technique explained: grips, the unit turn, contact point, topspin and the kinetic chain, plus the five faults that cost most players.

Jump to a section
Want to improve your game?
Private and group coaching with Claire Carter in Redwood Shores.
Book a lessonMore tennis guides
Technique, gear, fitness and match play, written from the coach’s chair.
Browse all guidesThe forehand is the shot most players hit most often, and the one they most often build wrong. Almost every persistent forehand problem traces back to one of three things: the grip, the preparation, or the contact point.
Fix those in order and the swing largely takes care of itself. Here is the stroke broken down in the sequence it should actually be learned.
01Step 1: choose a grip and commit
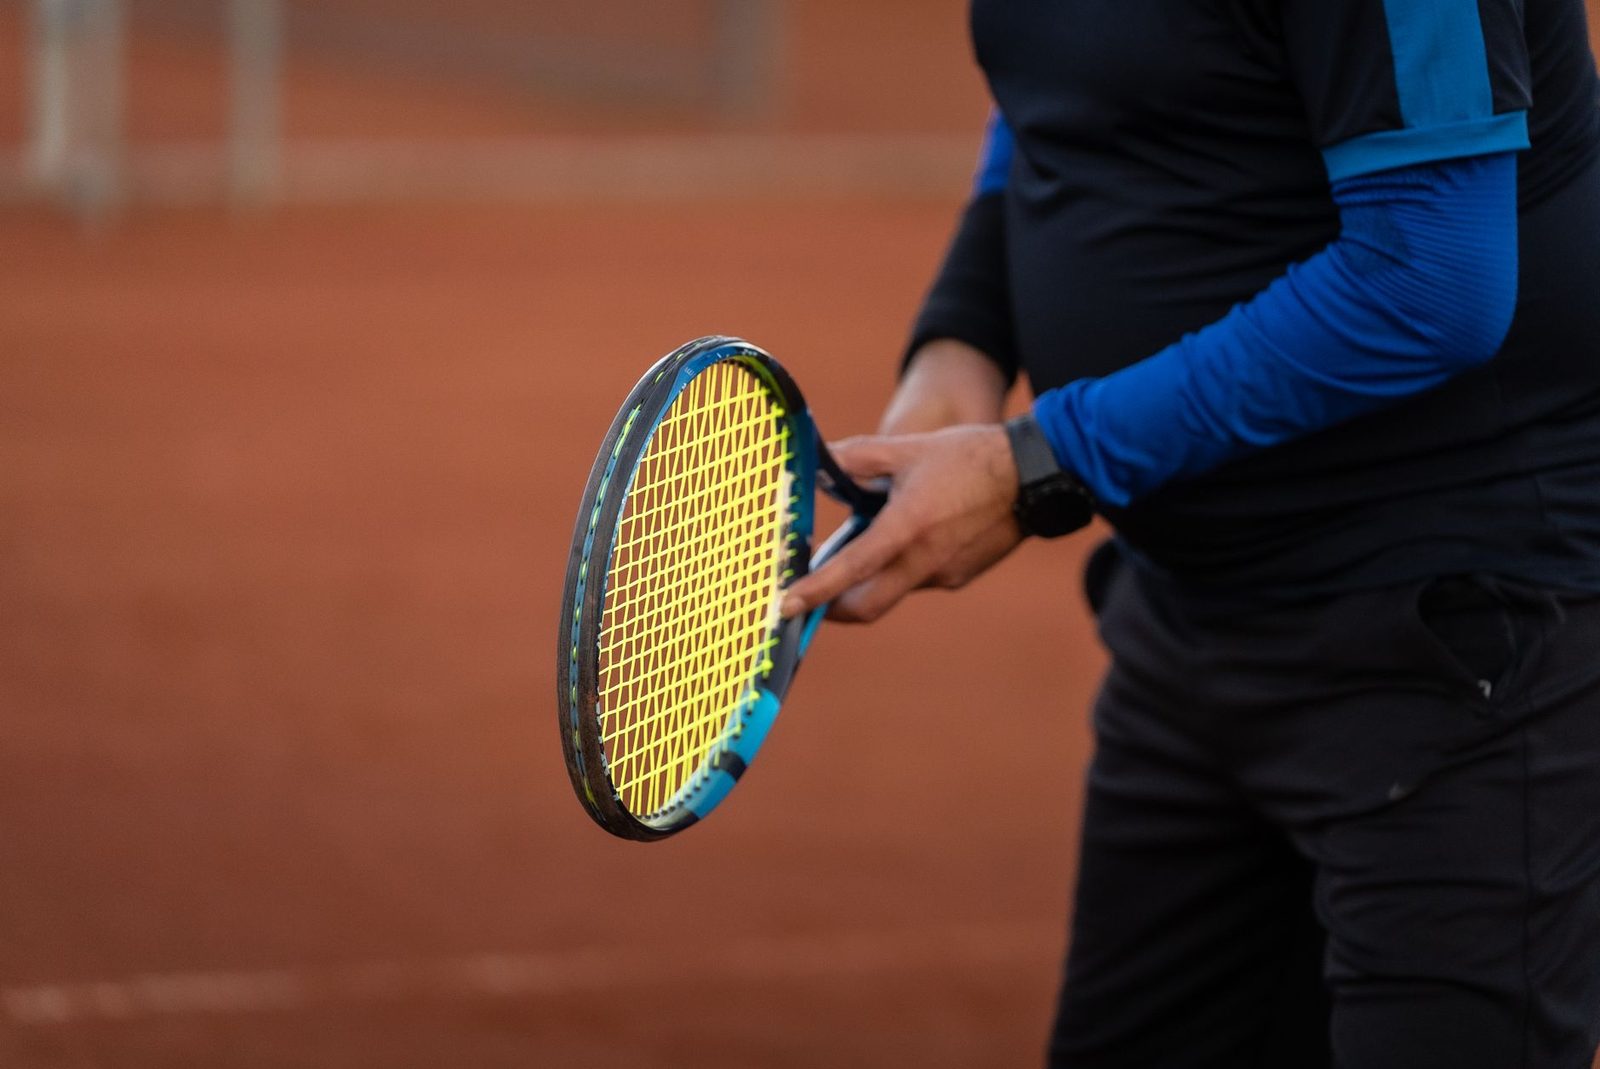
Your grip determines the racquet face angle at contact, which determines everything else. Two grips dominate the modern game, and the full set is laid out in this guide to tennis grips and the bevel system.
| Grip | Ball flight | Best for | Trade-off |
|---|---|---|---|
| Eastern | Flatter, more penetrating | Beginners; flat hitters; low balls | Harder to generate heavy topspin |
| Semi-western | Heavier topspin, higher net clearance | Baseliners; the most common grip on tour | Low balls become more awkward |
| Western | Extreme topspin | High-bouncing clay specialists | Very difficult on low balls and volleys |
Start eastern if you are new. Move to semi-western if you want more spin and more margin over the net. Do not drift between them unconsciously, which is what most self-taught players end up doing.
02Step 2: the unit turn
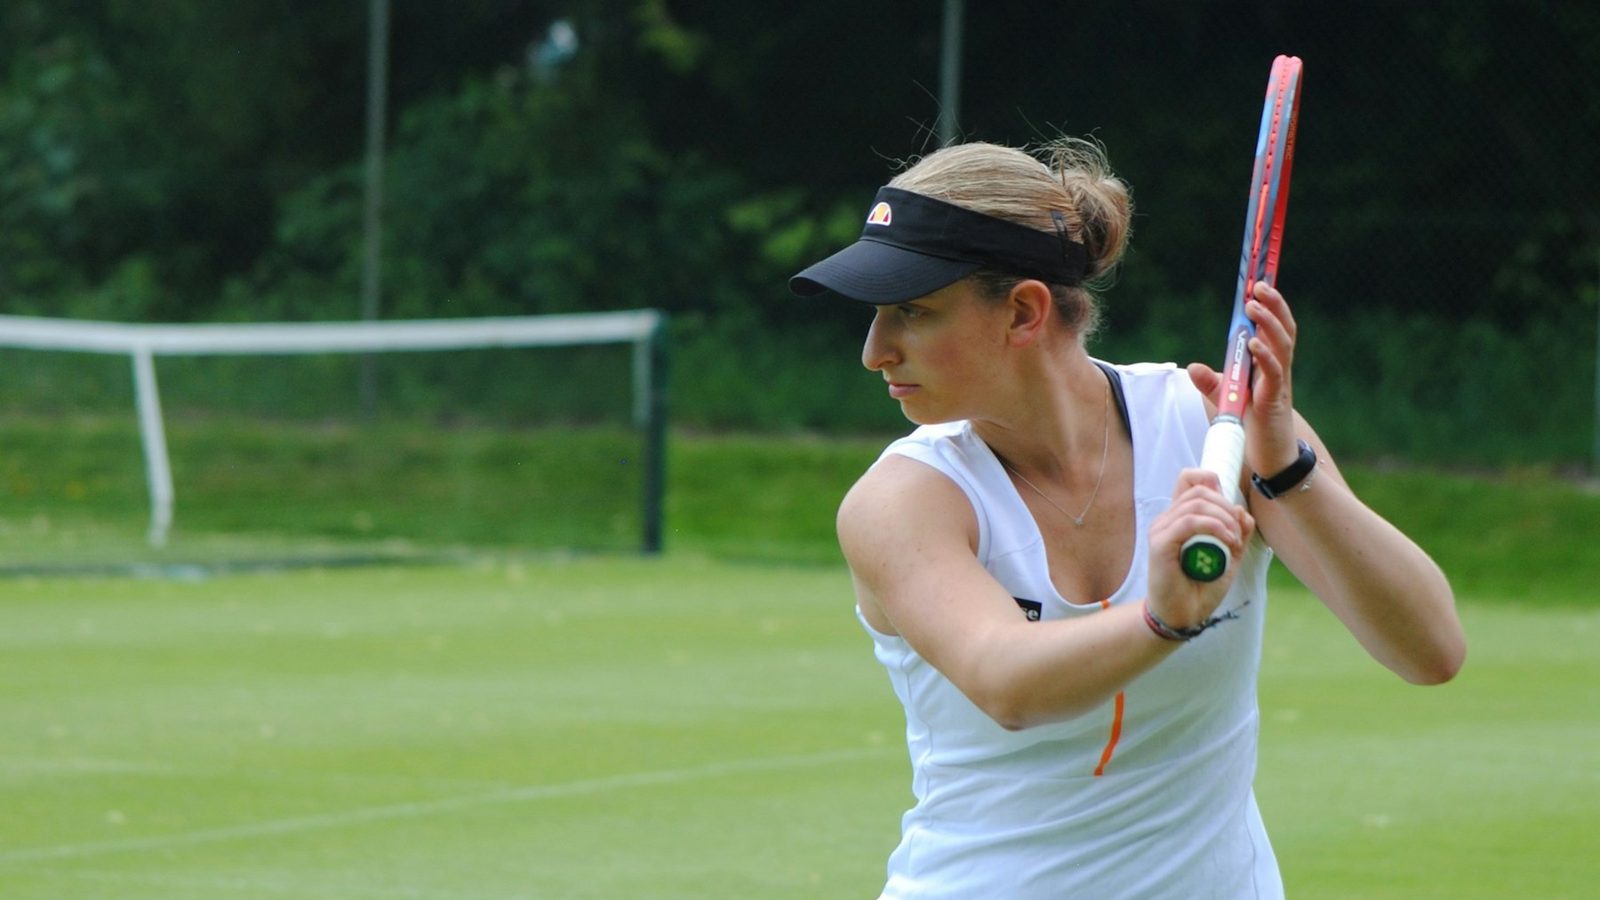
This is where the power comes from and where most club players lose it. As you recognise a forehand, turn your shoulders, hips and racquet together as one unit. The non-hitting hand points across or holds the throat of the racquet, which forces the shoulders to rotate rather than the arm to swing back alone.
The test is simple: if someone standing behind you can see your back number, you have turned. If they can only see your racquet going backwards, you have not.
03Step 3: load the legs
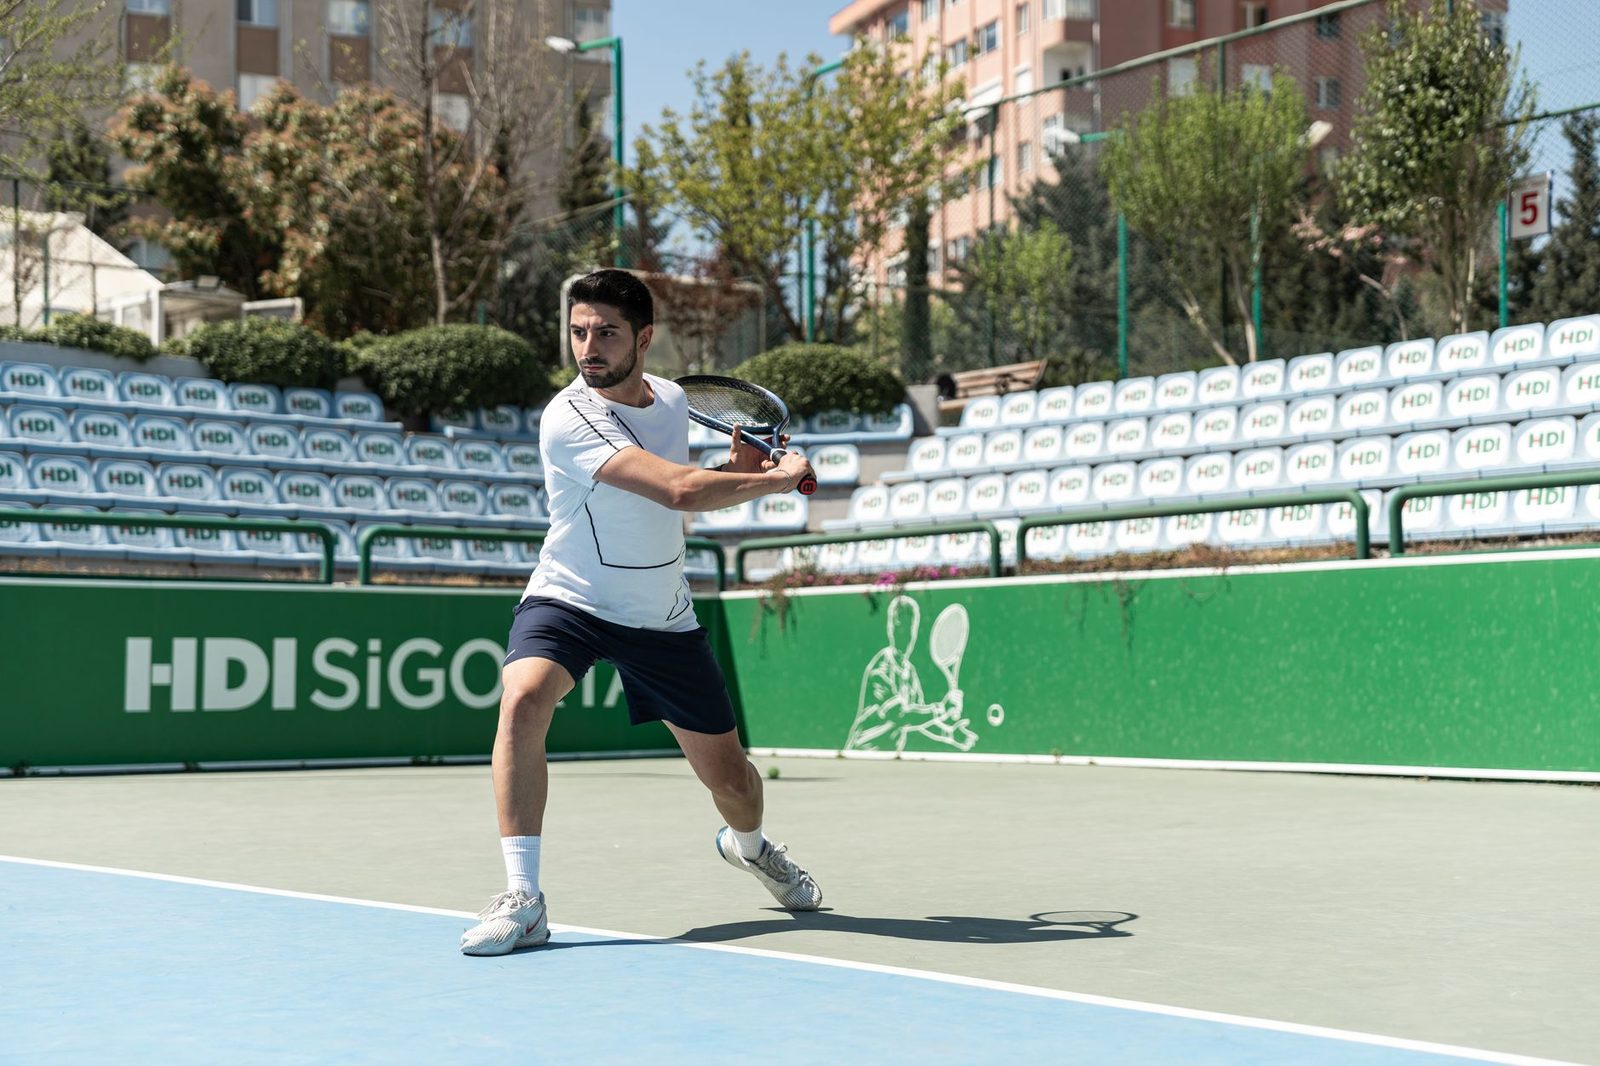
Power in a forehand starts from the ground. Push against the court, load into the outside leg, then drive up and rotate. The sequence runs legs, hips, torso, shoulder, arm, racquet, and it is called the kinetic chain because each link passes energy to the next.
Players who hit with the arm alone cap their forehand permanently, no matter how much strength they add. Off-court work helps here, and the single-leg strength section of this off-court tennis fitness training is directly relevant.
04Step 4: swing low to high
The racquet drops below the intended contact height, then travels up and forward through the ball. The upward component creates topspin; the forward component creates pace. You need both, and the balance between them is what distinguishes a heavy ball from a loopy one.
A common misunderstanding is that topspin comes from angling the strings downward at contact. It does not, and doing so shrinks your effective hitting area and causes mishits. Meet the ball with a roughly vertical face and let the upward path of the swing brush the back of it.
05Step 5: contact point
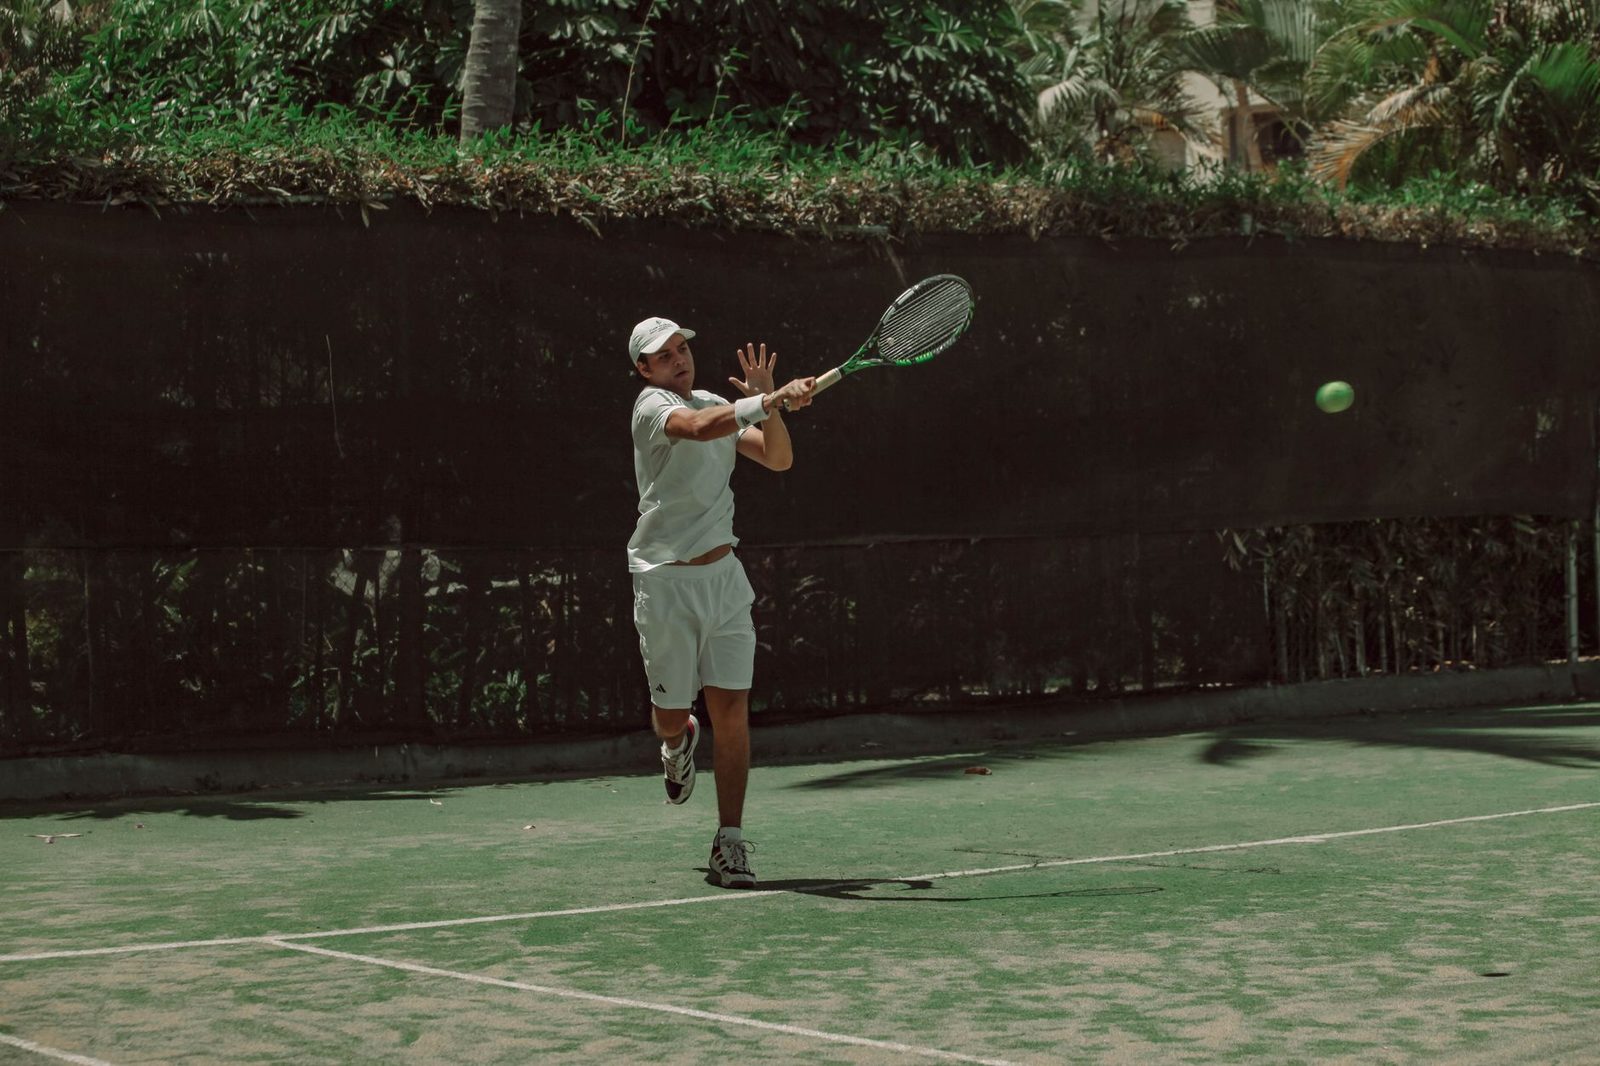
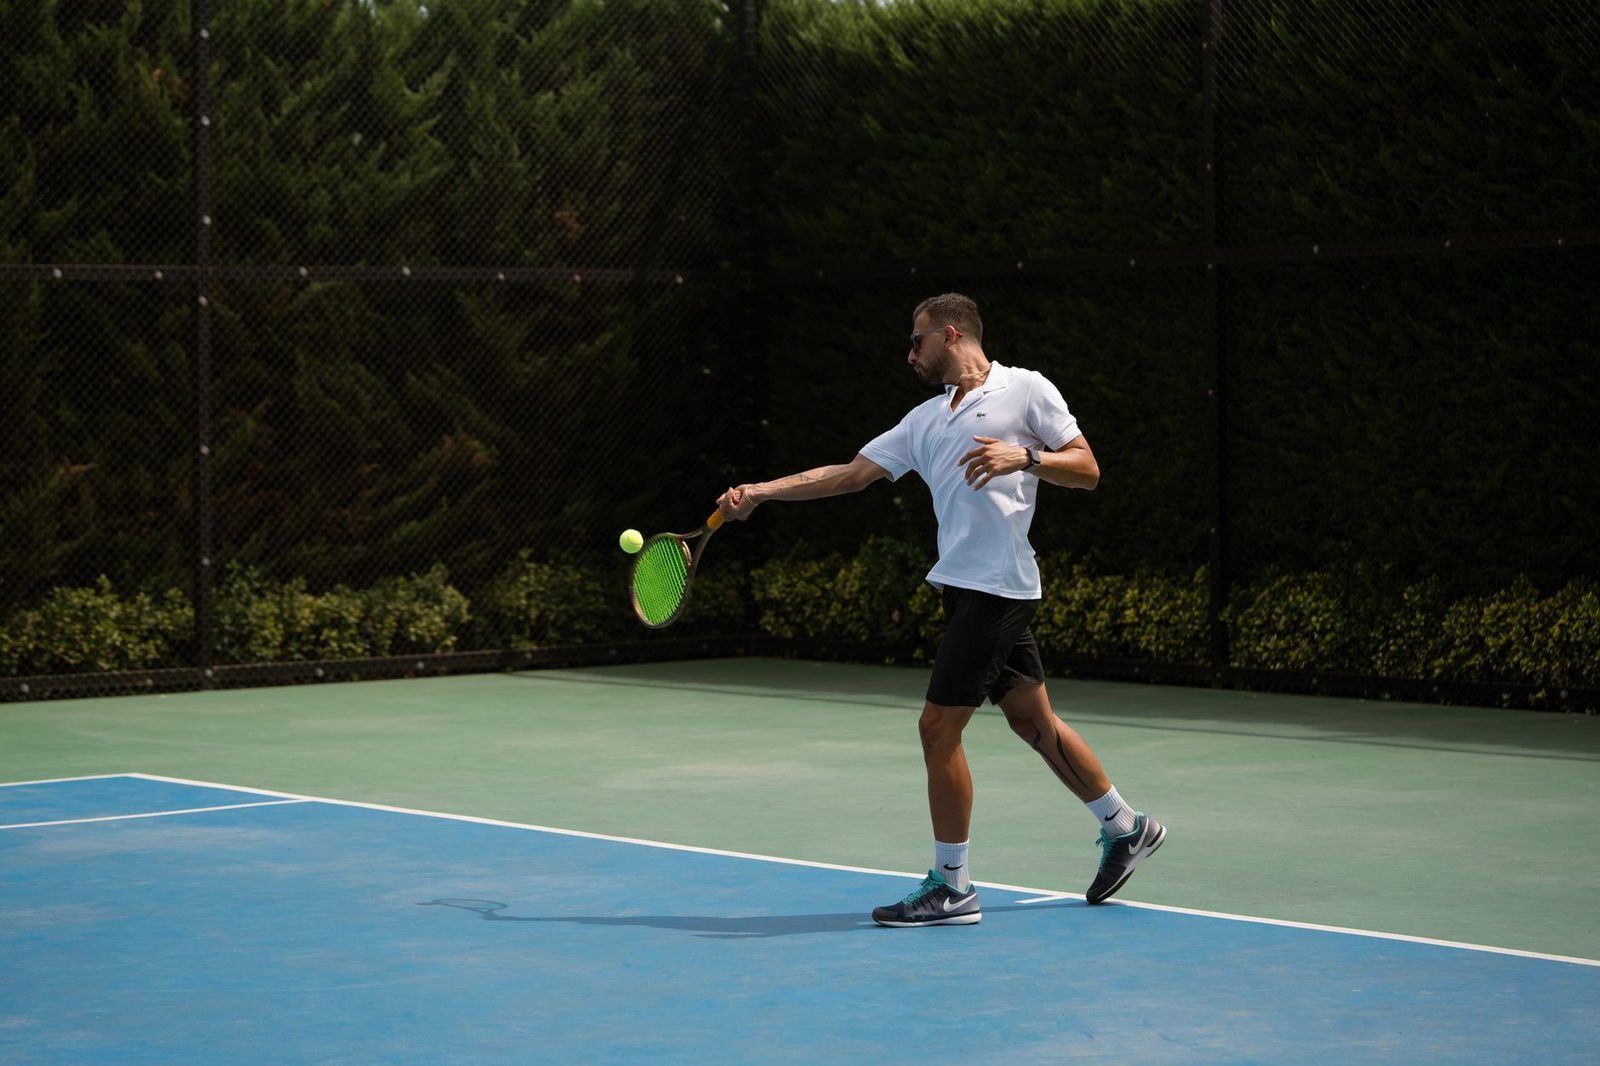
Out in front, slightly to your dominant side, around hip height. This is non-negotiable and it is where most forehands go wrong.
Crucially, a late contact point is almost never a swing problem. It is a preparation problem or a footwork problem. If you are consistently late, you are turning too slowly or arriving too slowly, and no amount of swinging harder will fix it.
06Step 6: finish and recover
The follow-through should be long and relaxed, finishing over the opposite shoulder or across the body depending on the shot. A short, stabbed finish usually means you decelerated before contact, which costs both pace and control.
Then recover. The forehand ends when you are back in position, not when the ball leaves the strings.
07The five faults that cost the most
| Fault | What you see | Actual cause | Fix |
|---|---|---|---|
| Late contact | Ball goes right and short (for a right-hander) | Slow unit turn | Turn as soon as you read the ball |
| Framing and mishits | Off-centre contact | Watching the target, not the ball | Keep the head still through contact |
| No topspin | Balls fly long | Swinging flat and across | Drop the racquet below the ball; swing up |
| Arming the ball | Effortful but slow | No leg drive or hip rotation | Load the outside leg; rotate through |
| Inconsistent depth | Some short, some long | Variable contact point | Footwork: small adjusting steps before every ball |
Notice that three of the five are movement problems rather than swing problems. That is typical, and it is why these tennis footwork drills matter as much as any technical cue.
08Inside-out and inside-in
Once the stroke is reliable, the forehand becomes a weapon through position rather than power. Running around a backhand to hit a forehand from the middle of the court is the most common attacking pattern in the modern game, and it is available to club players too.
The trade-off is court coverage: you have vacated one side. Use it on balls that land short enough that your opponent is already under pressure, not on deep ones where you are simply creating a hole. The point construction behind it is covered in singles strategy and point construction.
09Three drills
- Drop and hit. Drop a ball to your side and hit it, focusing purely on contact out in front. Thirty balls. The simplest drill there is and still the most useful.
- Turn on the bounce. Rally, and complete your unit turn before the ball bounces on your side. It feels absurdly early. It is correct.
- Crosscourt depth. Rally crosscourt aiming to land every ball behind the service line. Count consecutive successes. Depth is the metric that most reliably tracks forehand quality.
For solo work, the wall is excellent for forehand repetition volume, and these tennis backboard drills give you a structure. A wider technical breakdown is available in Tennisnerd’s complete forehand guide, and you can see the stroke at full speed in the free tennis instructional videos.
If you are still building the basics, work through these tennis drills for beginners first. And if the same fault keeps returning despite practice, that is usually the point at which a private lesson in Redwood Shores saves you months.
10Frequently asked questions
Most modern players use either an eastern or a semi-western grip. Eastern is flatter and easier to learn; semi-western is the most common on tour and produces heavier topspin. Beginners should start eastern and move to semi-western if they want more spin.
Out in front of your body and slightly to your dominant side, at roughly hip height. Contact beside or behind the body is the single most common cause of weak, late forehands, and it is usually a preparation problem rather than a swing problem.
Swing from low to high and let the racquet brush up the back of the ball after compressing it. Tilting the strings downward at contact is a common misunderstanding that reduces your effective hitting area and causes mishits.
It is the coordinated turn of the shoulders, hips and racquet as one piece at the start of the stroke. It is where the power of a forehand begins, and players who take the racquet back with the arm alone lose most of the available force.
Both, depending on the ball. Open stance suits wide balls and fast recovery; a neutral or closed stance suits balls you can step into. Being able to hit from both is more useful than committing to one.

Claire Carter
Former WTA Tour Professional & Teaching Pro
Claire Carter is a former WTA Tour professional and a full-time teaching professional at Bay Club Redwood Shores, where she has coached juniors and adults for more than twelve years.
More about ClaireImage credits: Ahmed (Pexels), Jill Rose (Pexels), Laura Marks (Unsplash), Nenyasha Manzvera (Pexels), Ozan Yavuz (Pexels), Sebastian Angarita (Pexels), Shahin Mren (Pexels). Photographs are illustrative.